Install Your Flo Glass.
Step by Step.

Everything you need to plan, build, and certify your pool fence or balustrade — from first measurement to council approval.

Flo Glass balustrade on a timber deck at sunset

Engineered for
DIY Installation

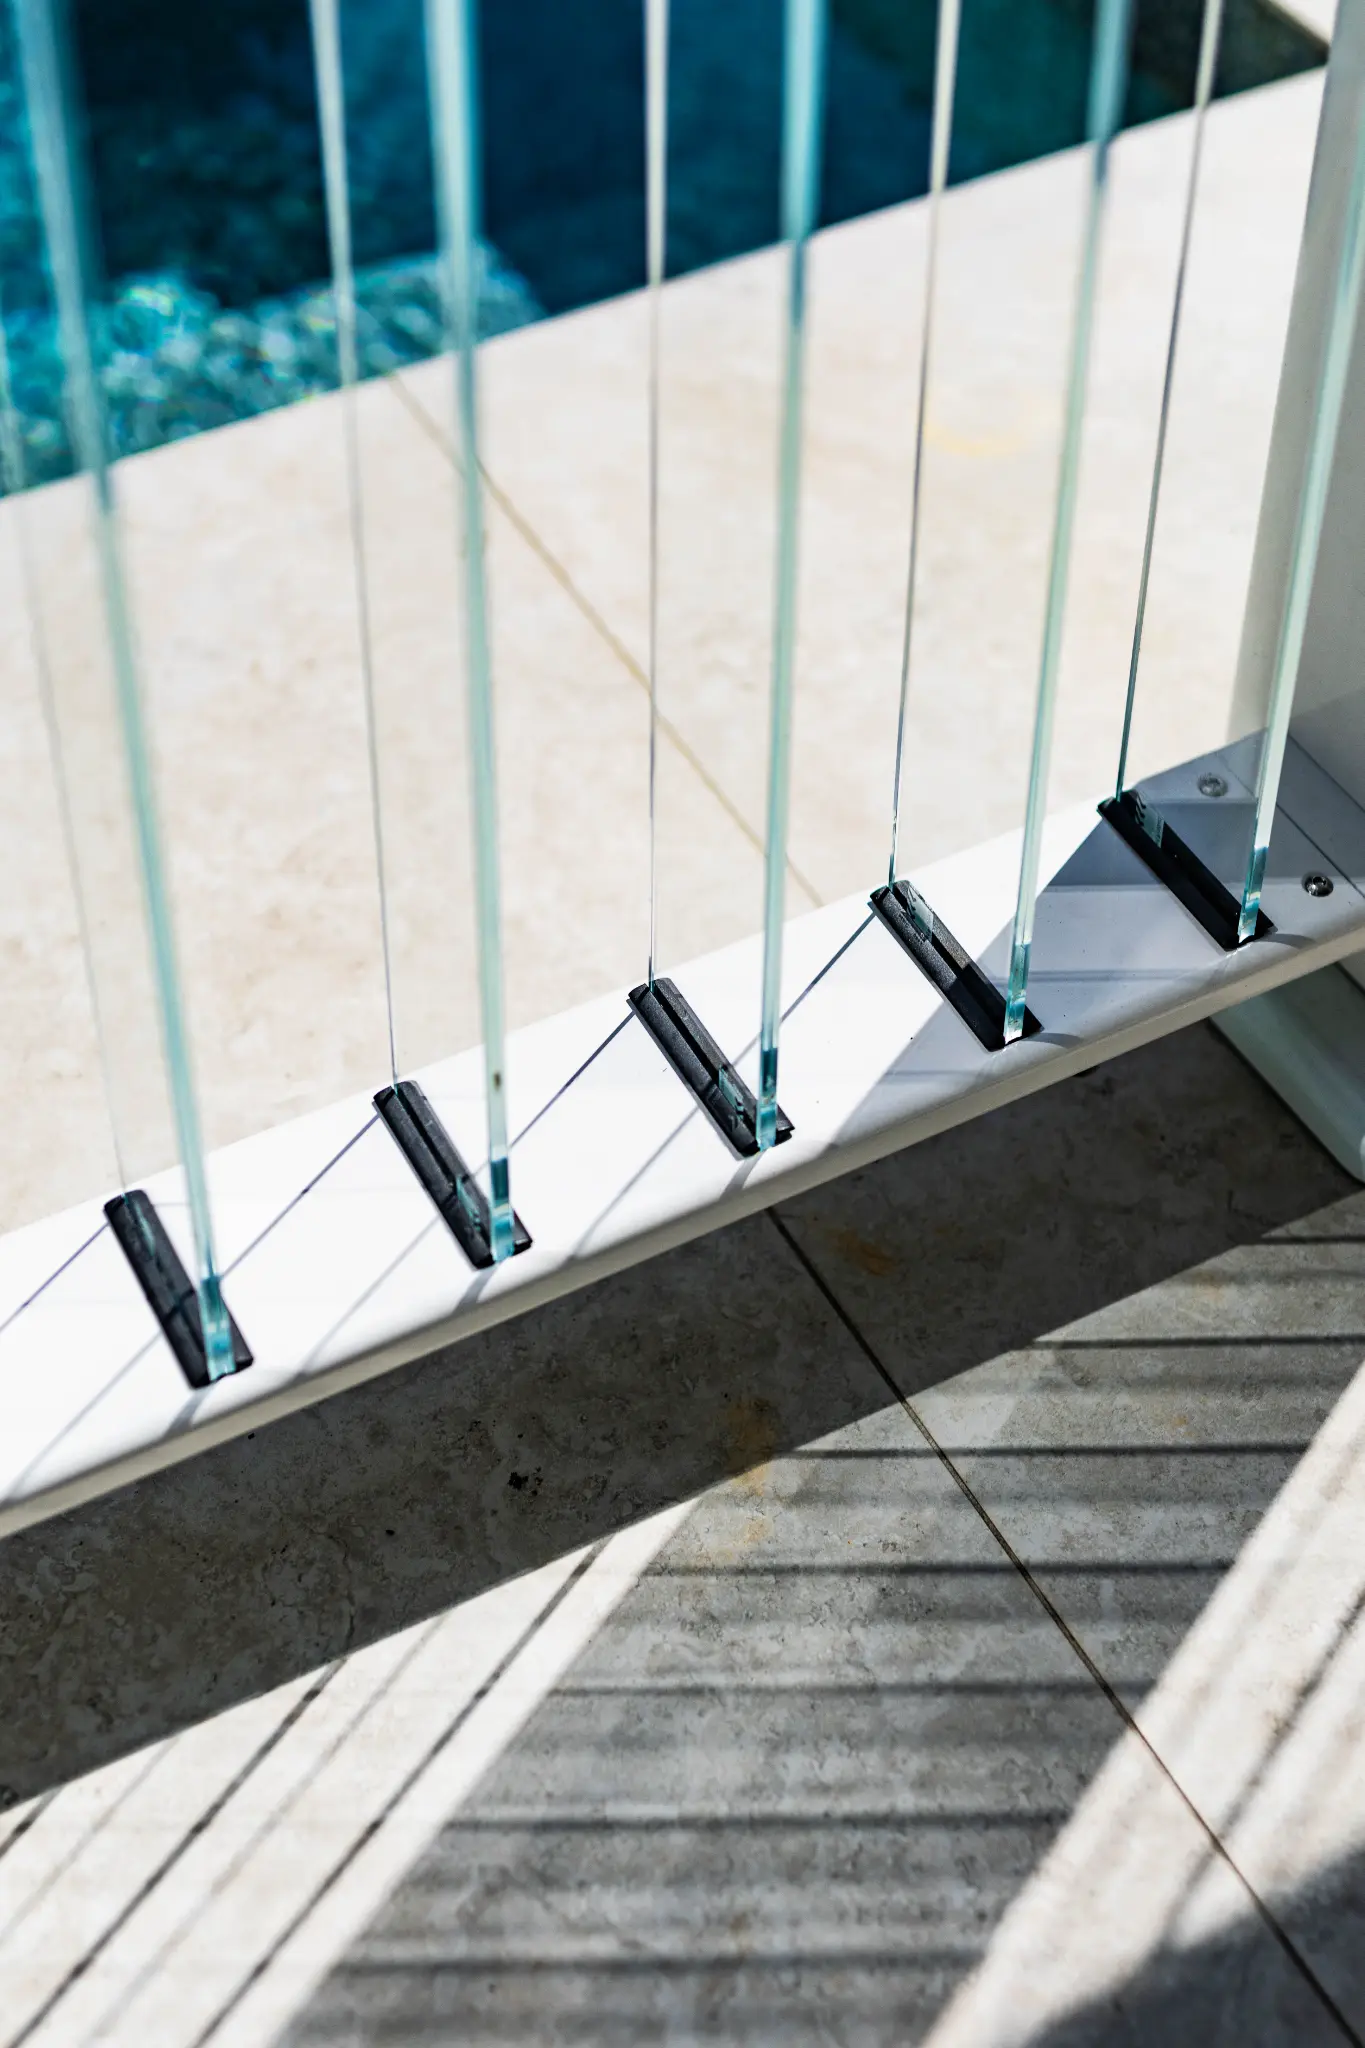
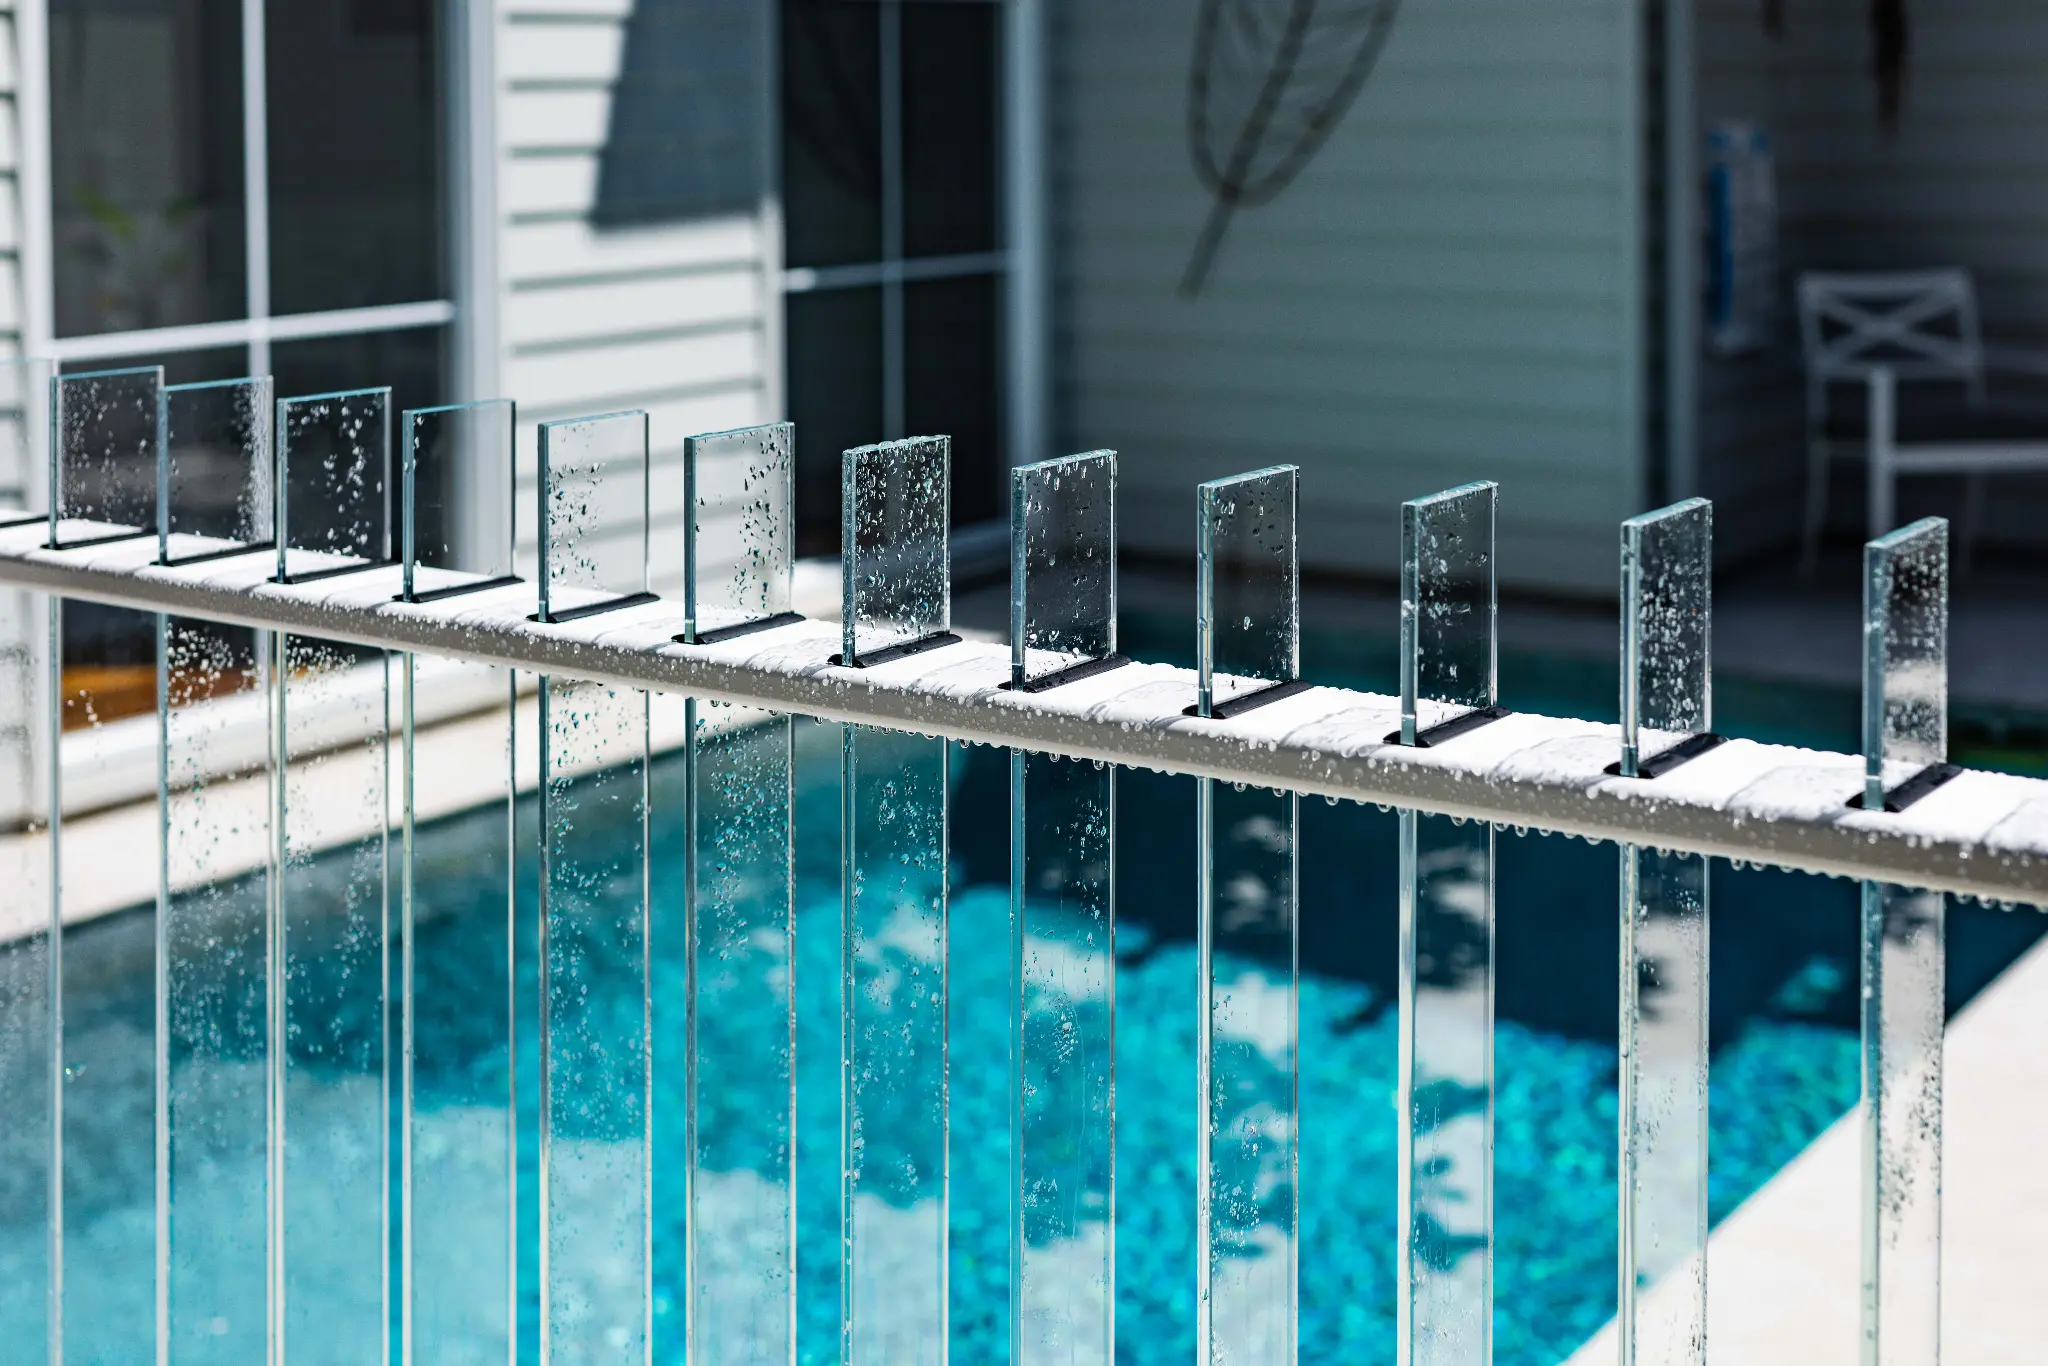
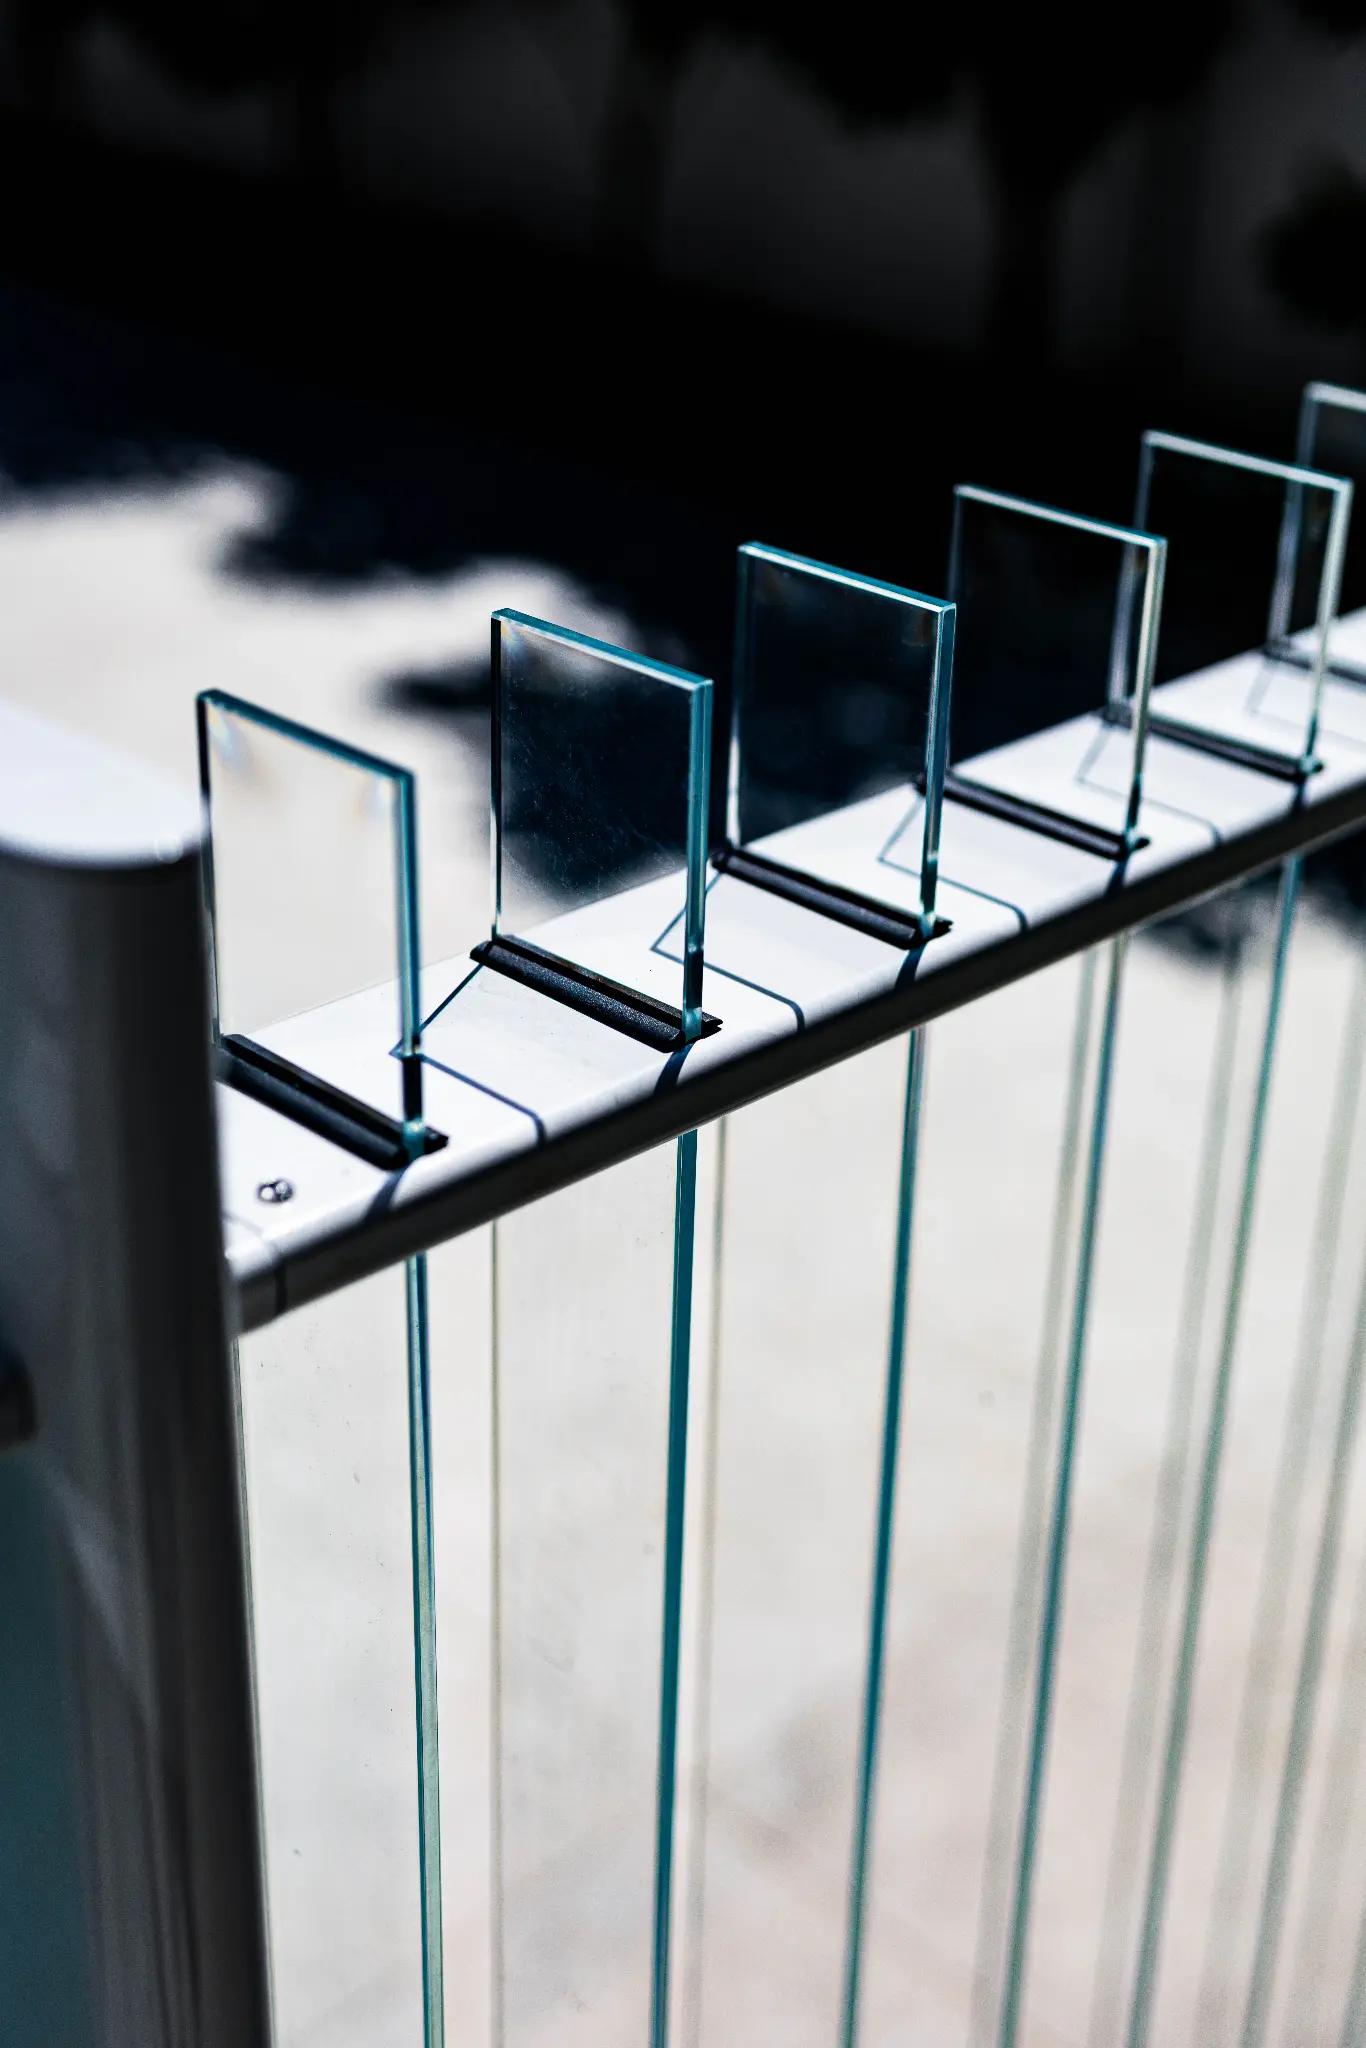
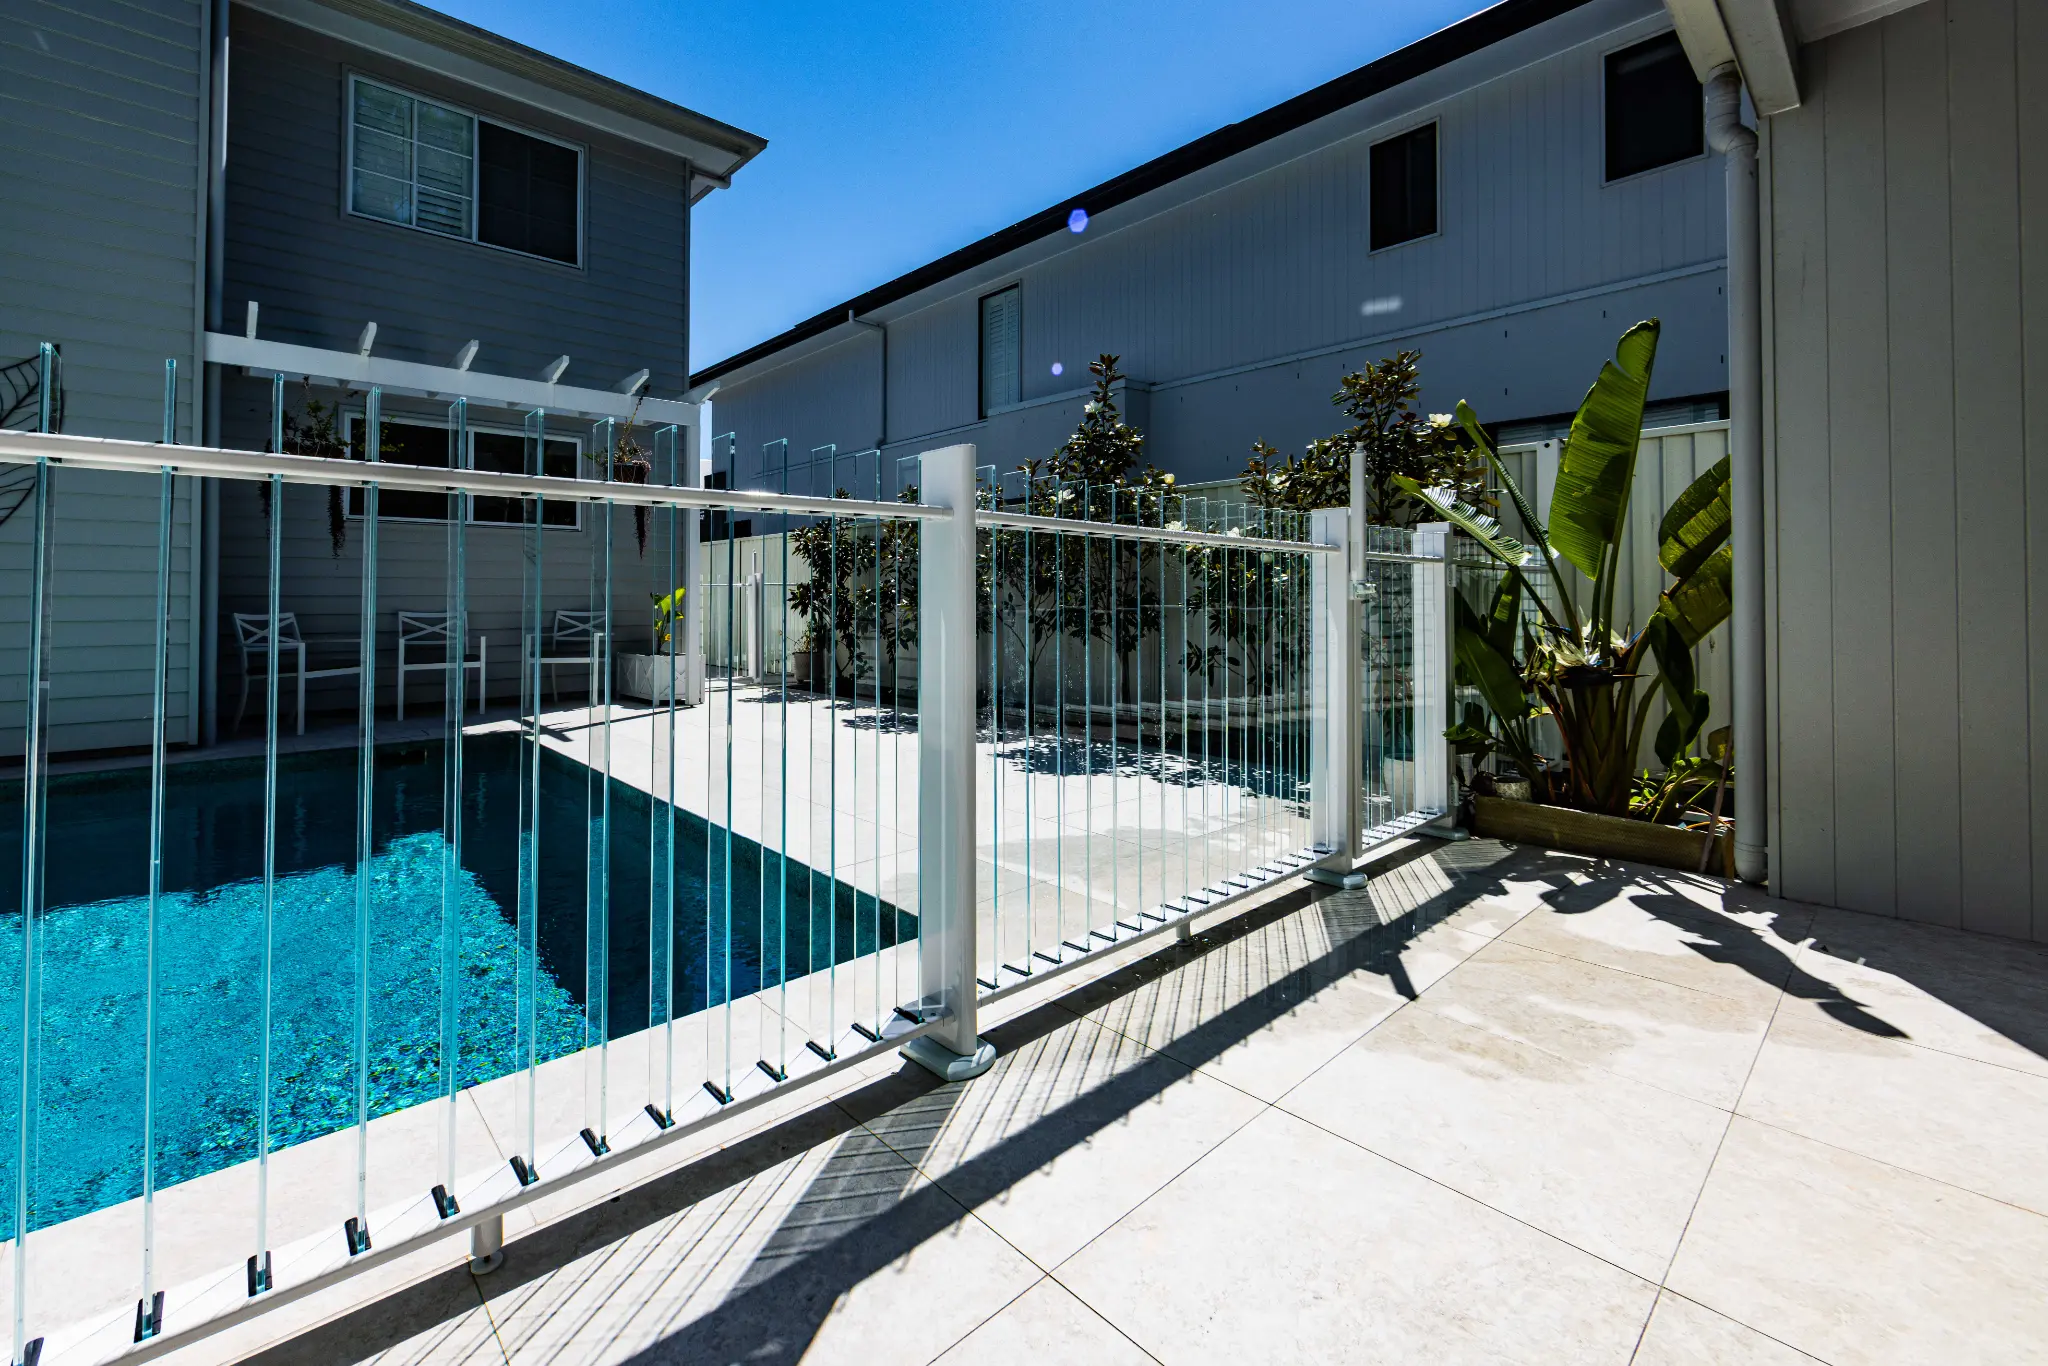
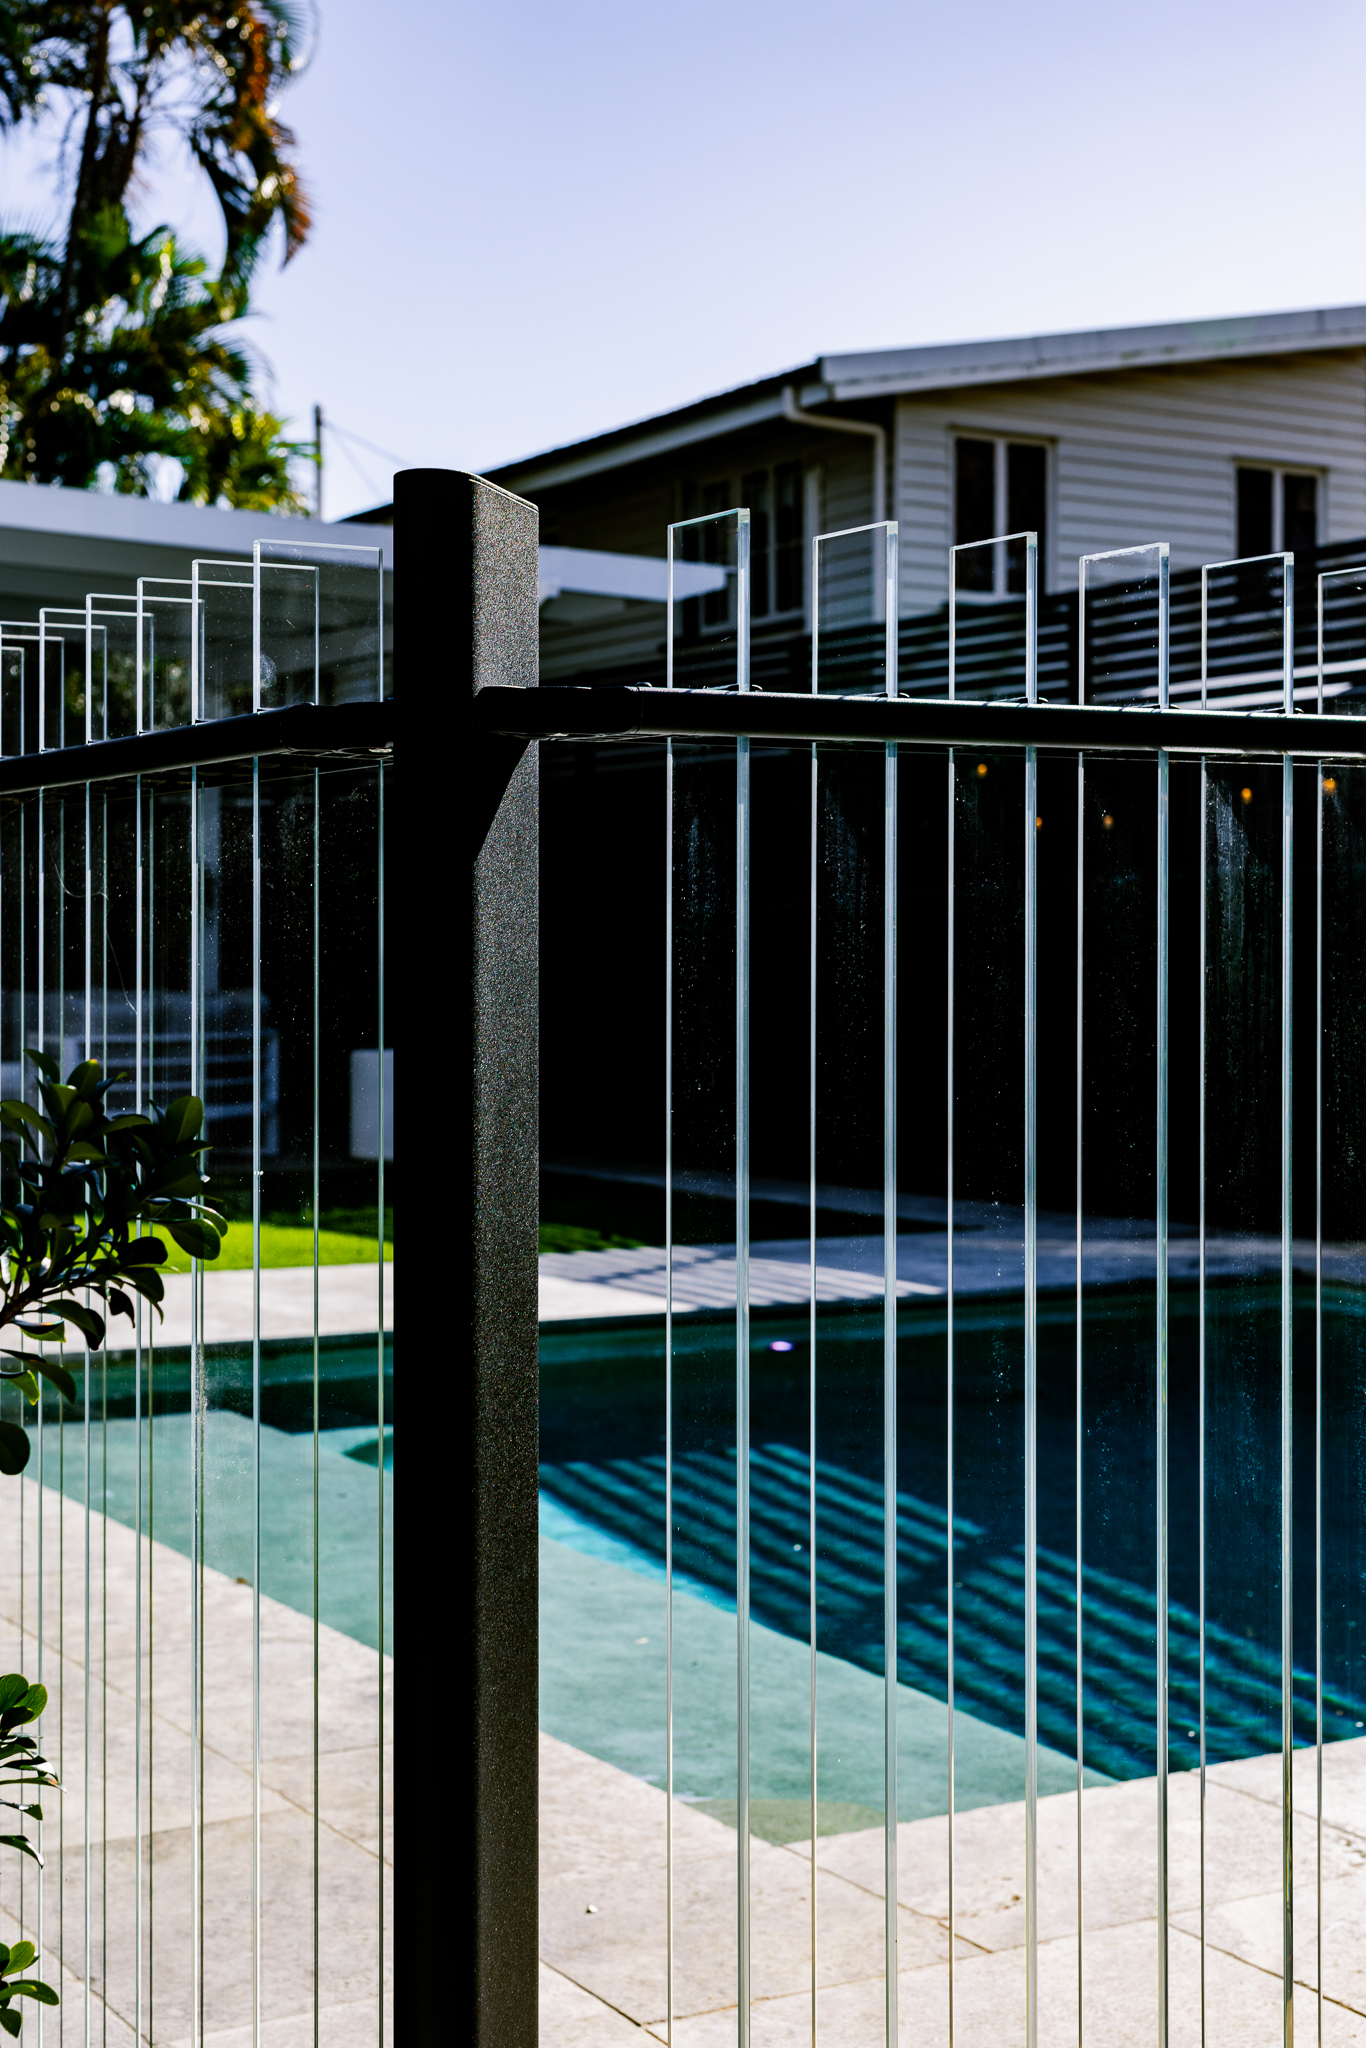
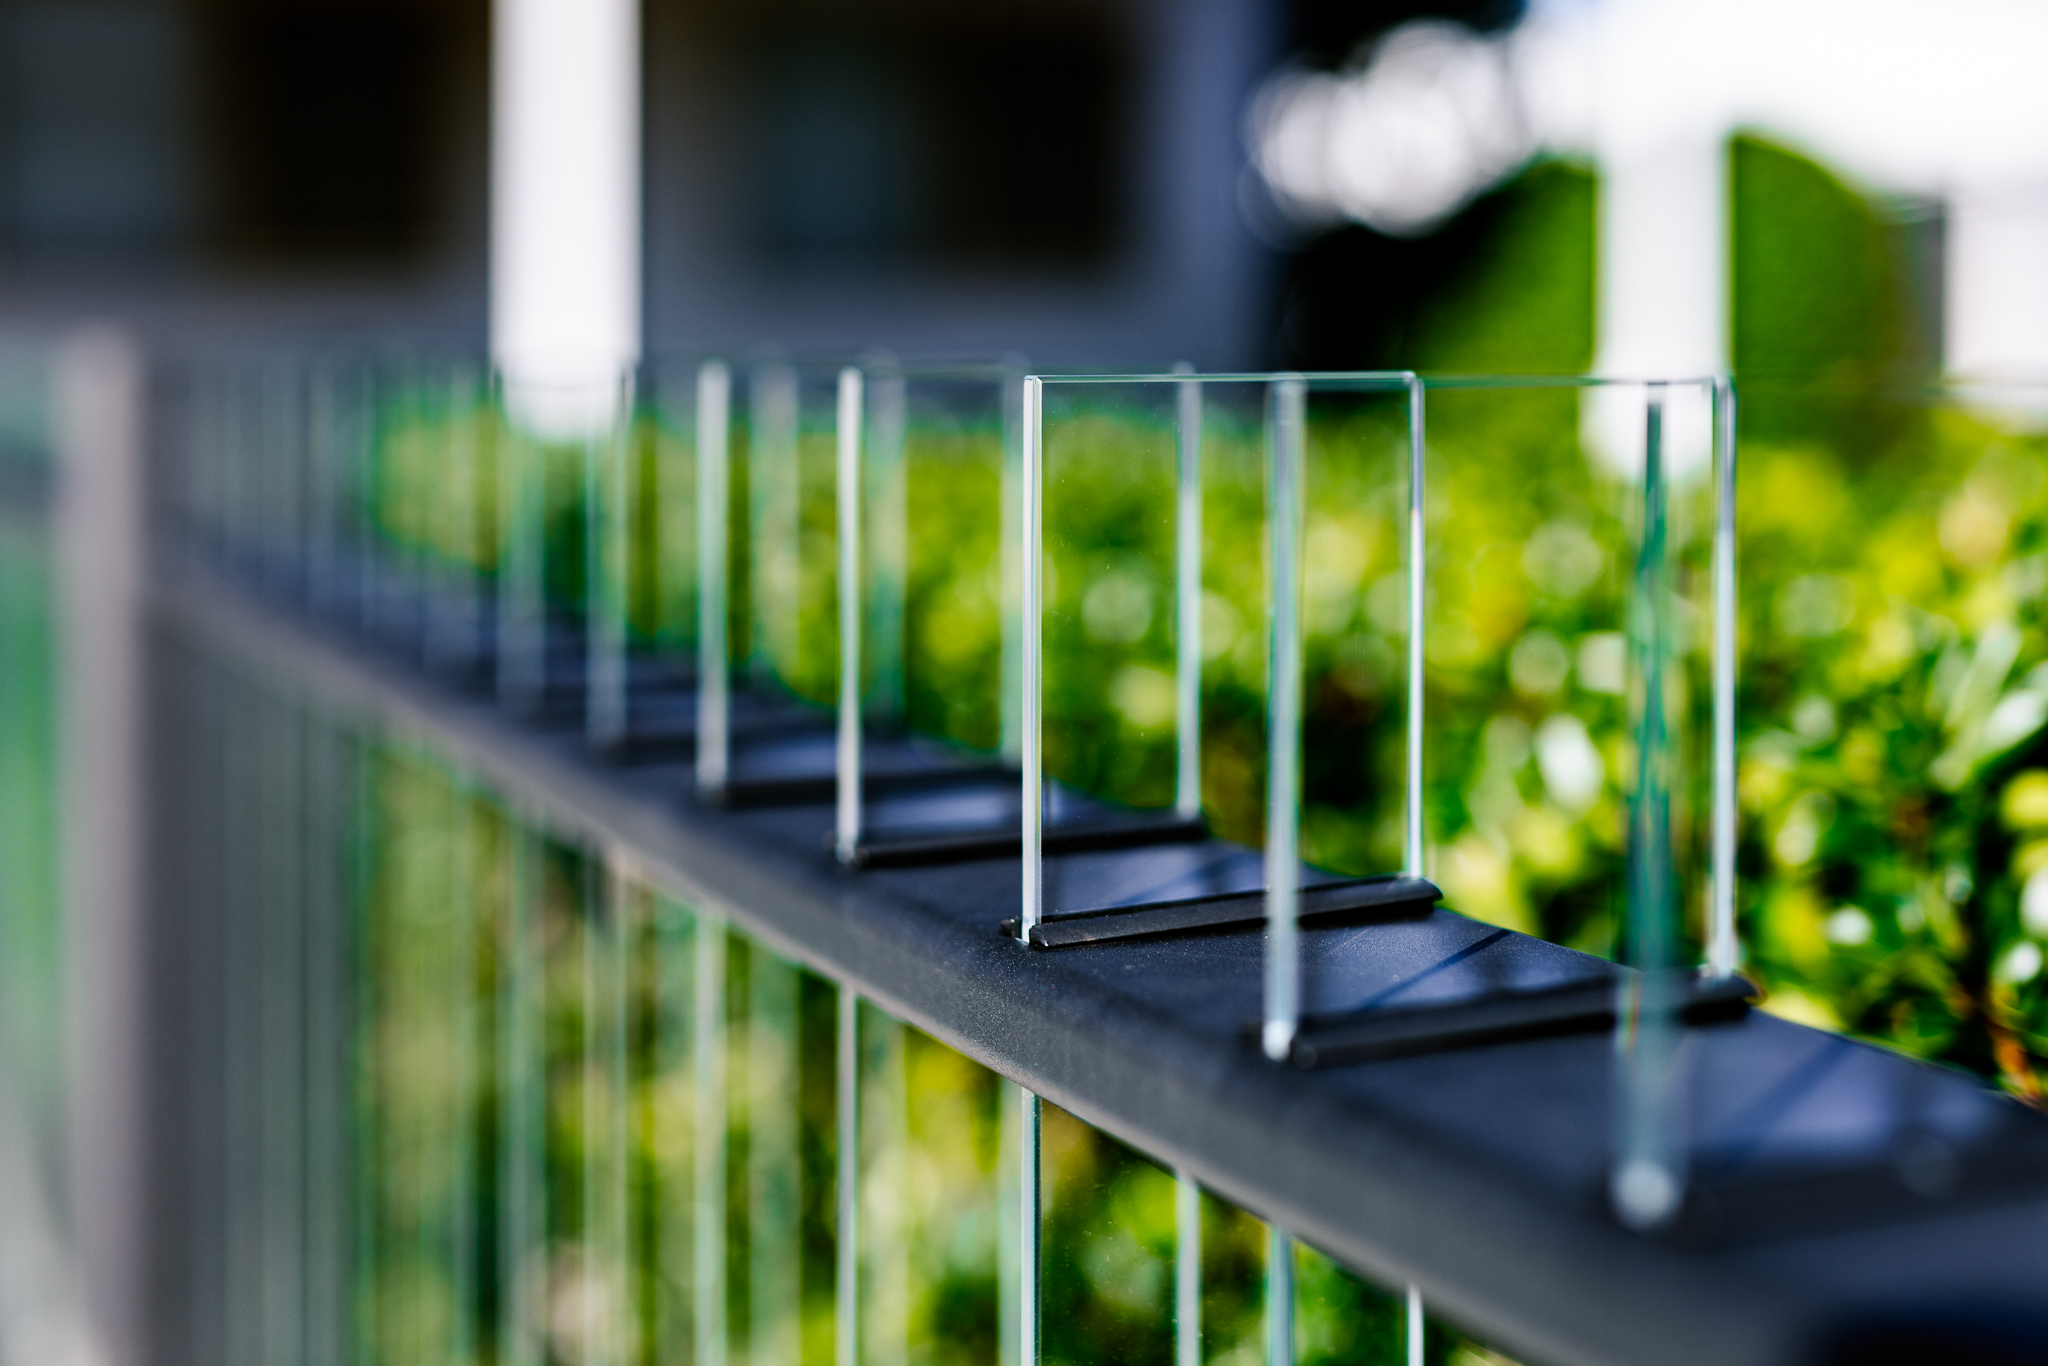
The Flo Glass system is a modular, clip-in glass solution that eliminates the need for specialist glazing equipment. Posts, panels, and hardware are engineered to work together — so you spend less time installing and more time enjoying the result.

Measure & Select
Measure & Select
Use our Fence Builder to generate an accurate parts list from your measurements.
Simple Installation
Simple Installation
The clip-in glass system installs in a fraction of the time of traditional methods.
Safe & Compliant
Safe & Compliant
AS1170.1 and AS1926.1 certified — full documentation included.
1

Three Things to Know
Before You Build

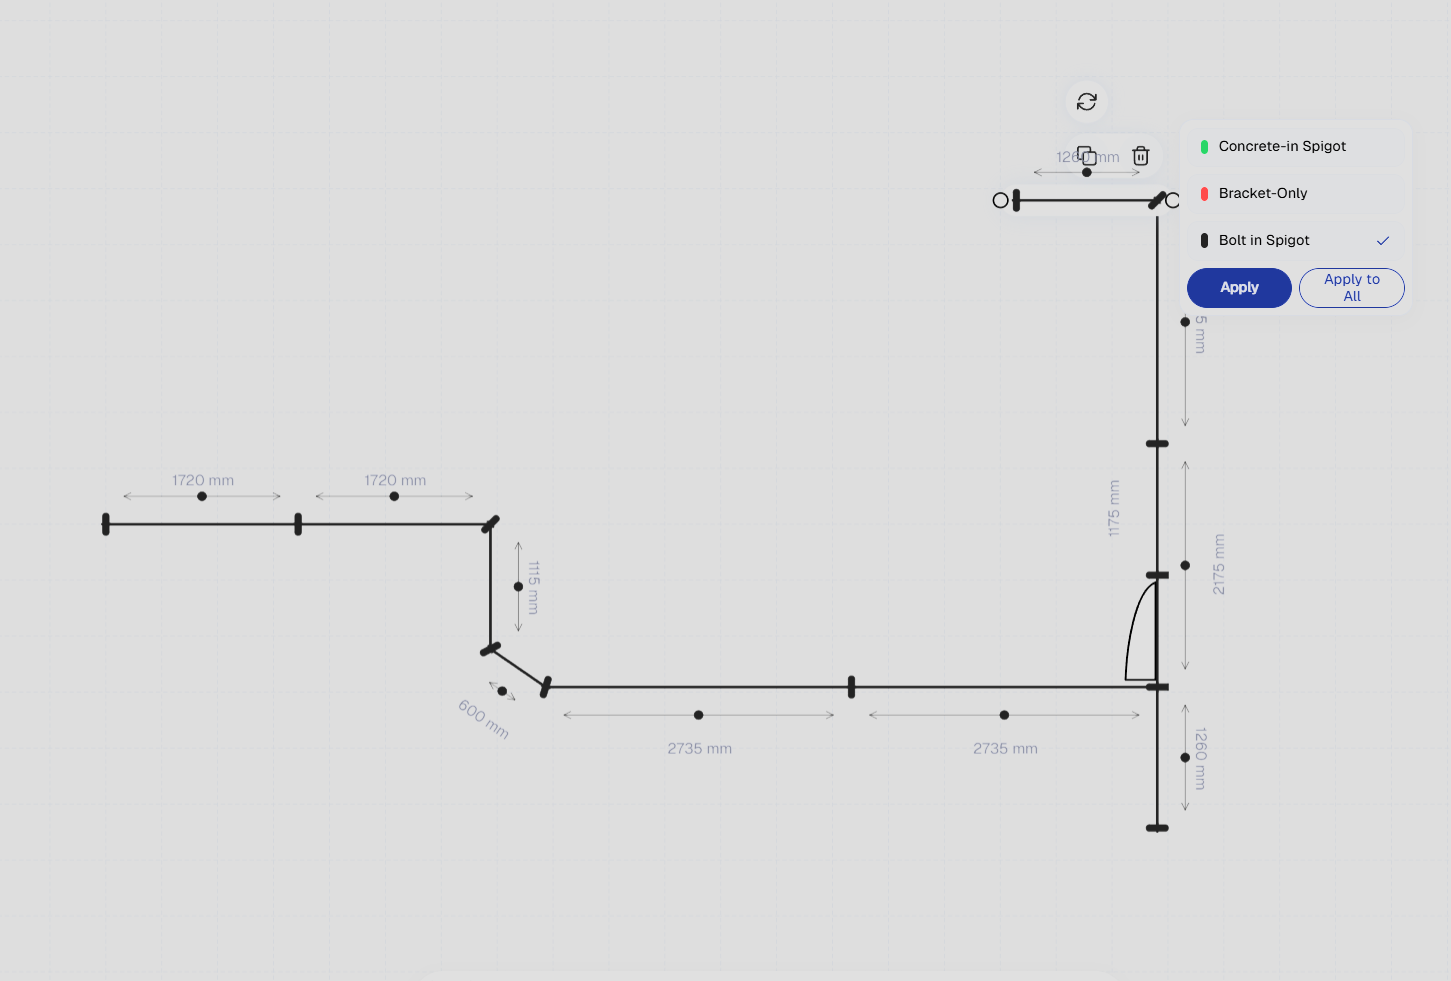
You don't need to figure out post spacing or component counts — the Fence Builder does that for you. All you need to do beforehand is three simple things.

1
Measure each fence run
Walk your fence line and record the length of each straight section in millimeters. That's it! No post spacing calculations needed - the app does it for you.
2
Note how posts will be fixed
Decide whether posts will be concreted into the ground, drilled and bolted into a concrete slab or deck, or mounted to an existing structure (like a wall or pole).
3
Open the Fence Builder
Enter your measurements and select your fixing type. The app automatically calculates post positions, panel sizes, and generates your complete parts list.
Flo Glass Fence Builder — saved fence design
Parts Included
Posts, glass panels, base plates, clips, and all hardware — delivered to your door.
2

Install Like a Pro.
No Experience Needed.

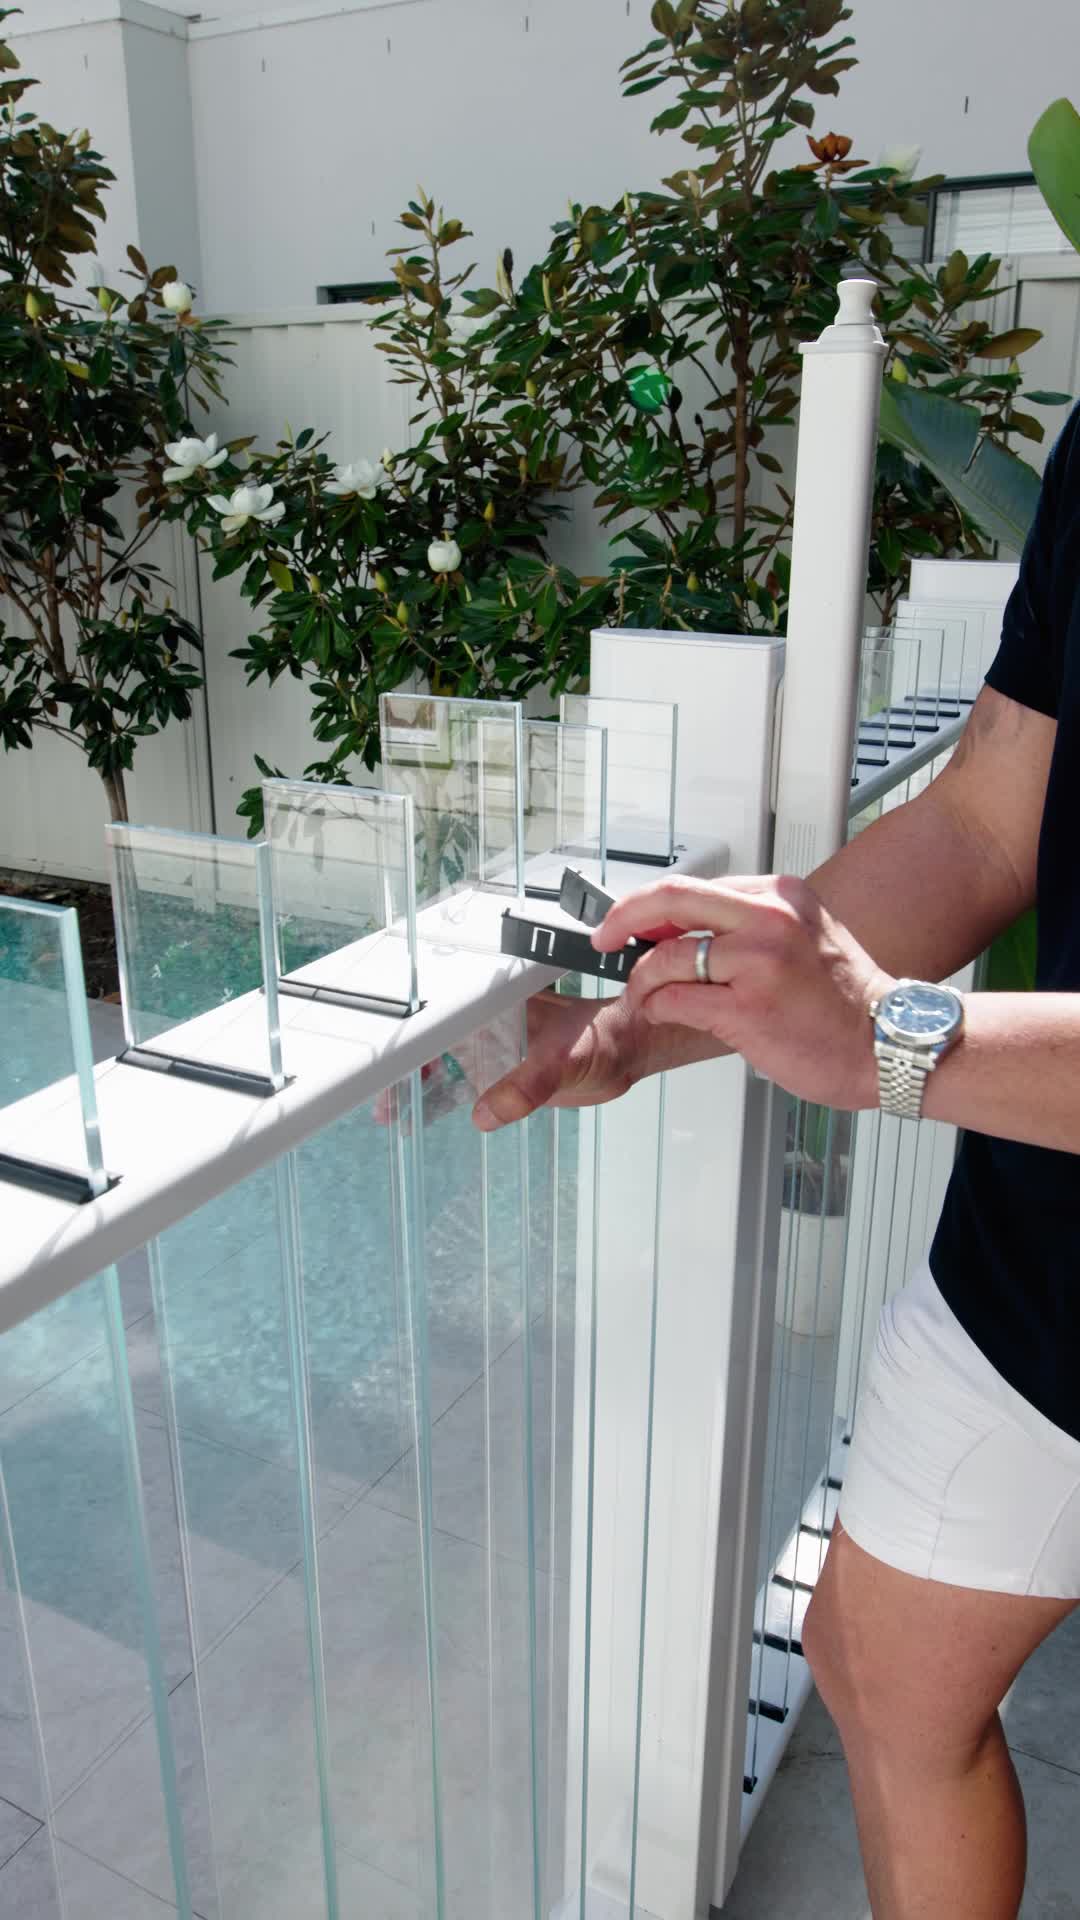
The Flo Glass clip-in system is designed so that any confident homeowner can complete a professional-quality installation. Follow the steps below, or watch our installation video for a complete walkthrough.

Flo Glass Installation Walkthrough

Full installation walkthrough — approx. 12 minutes
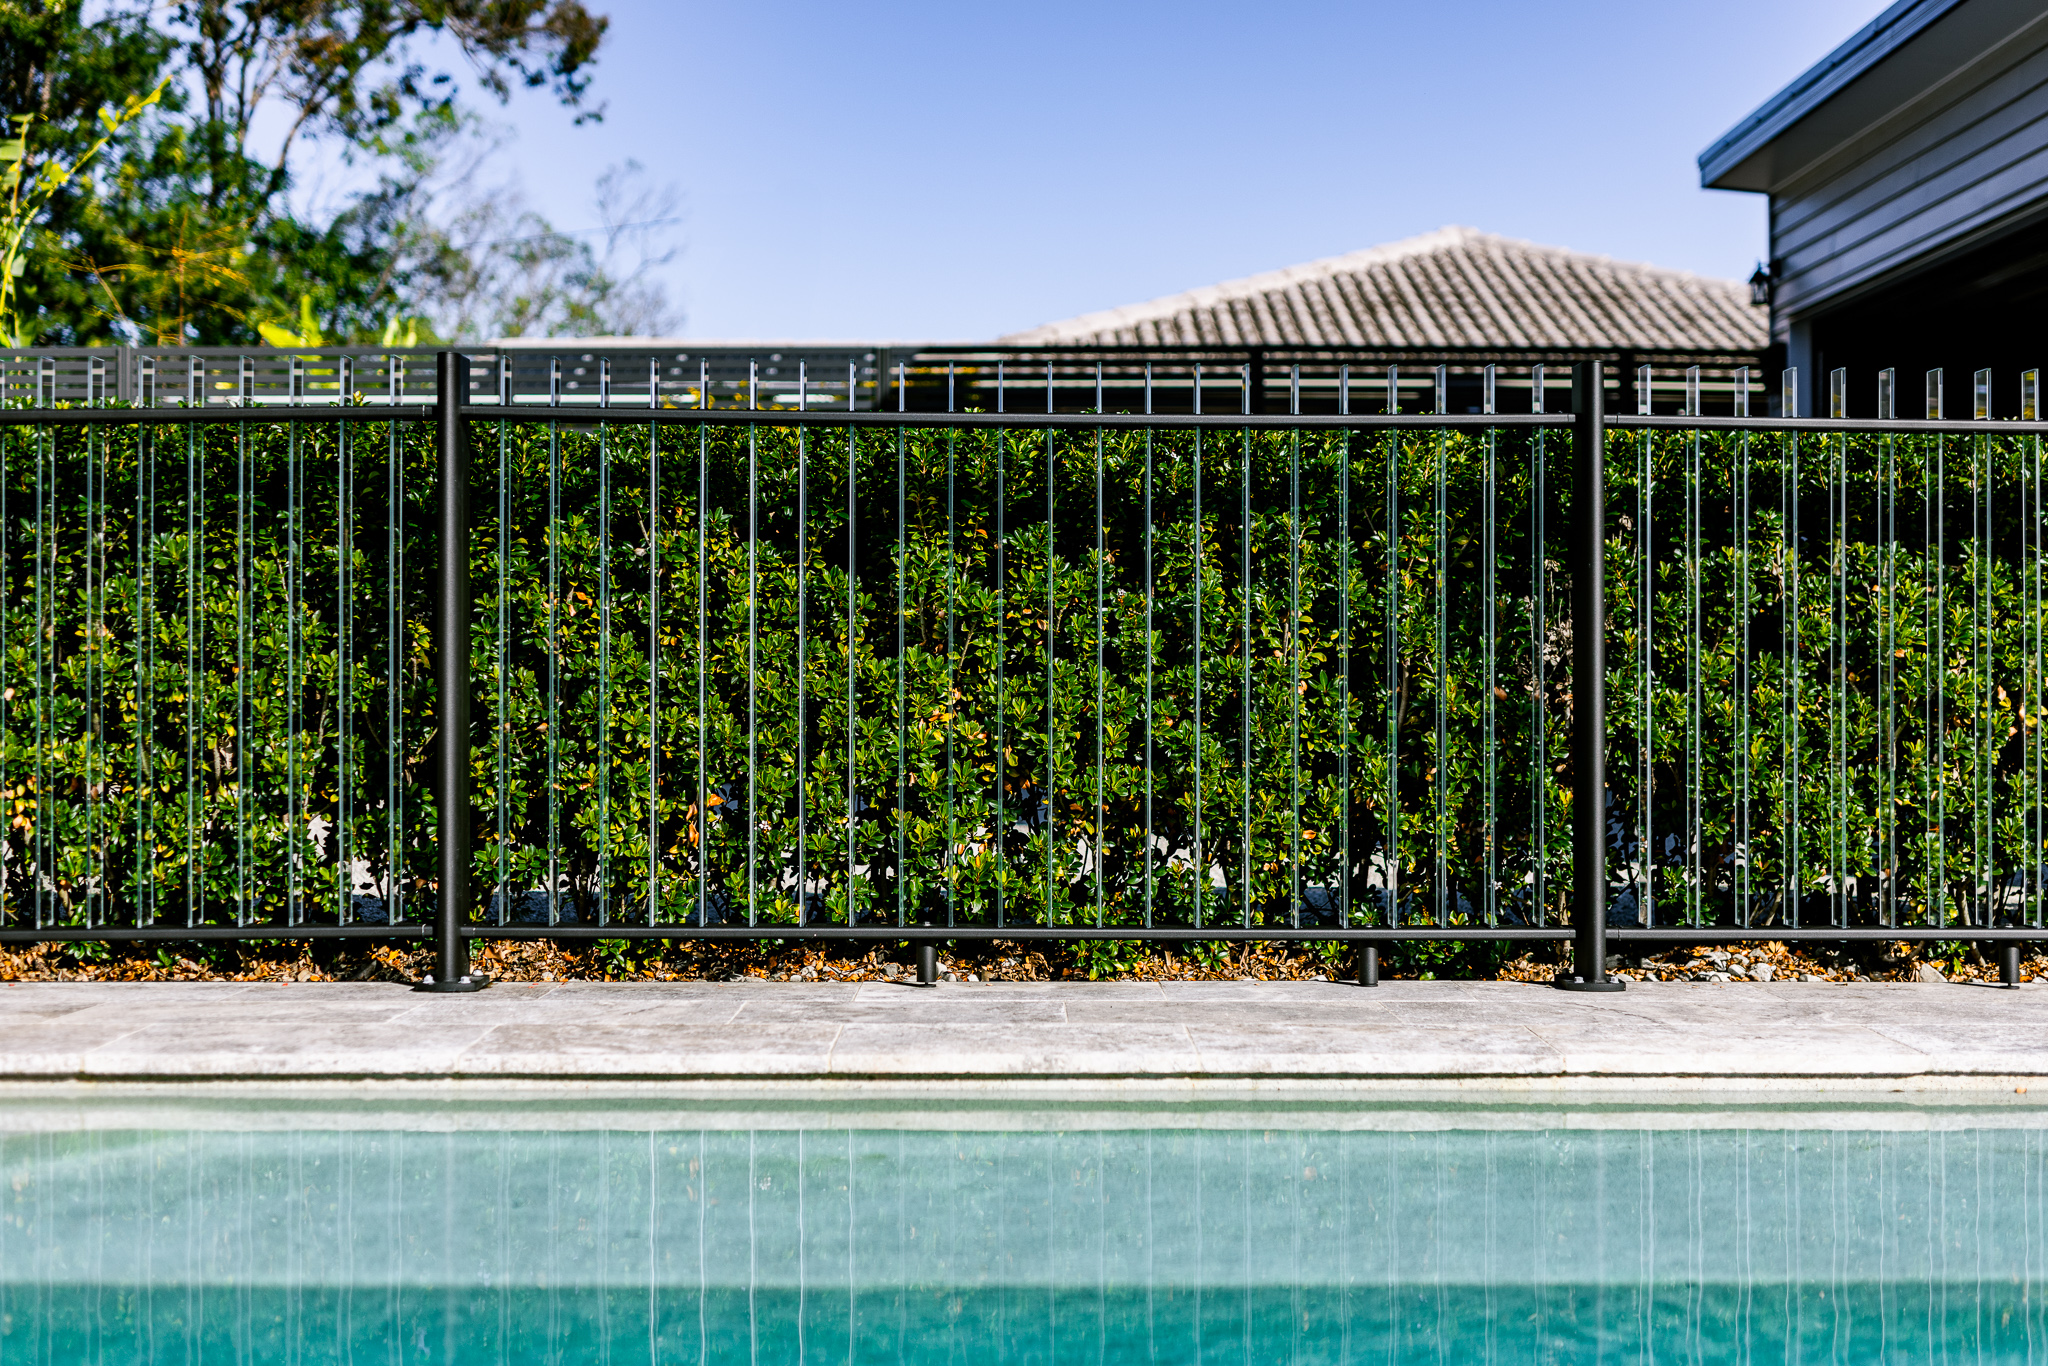
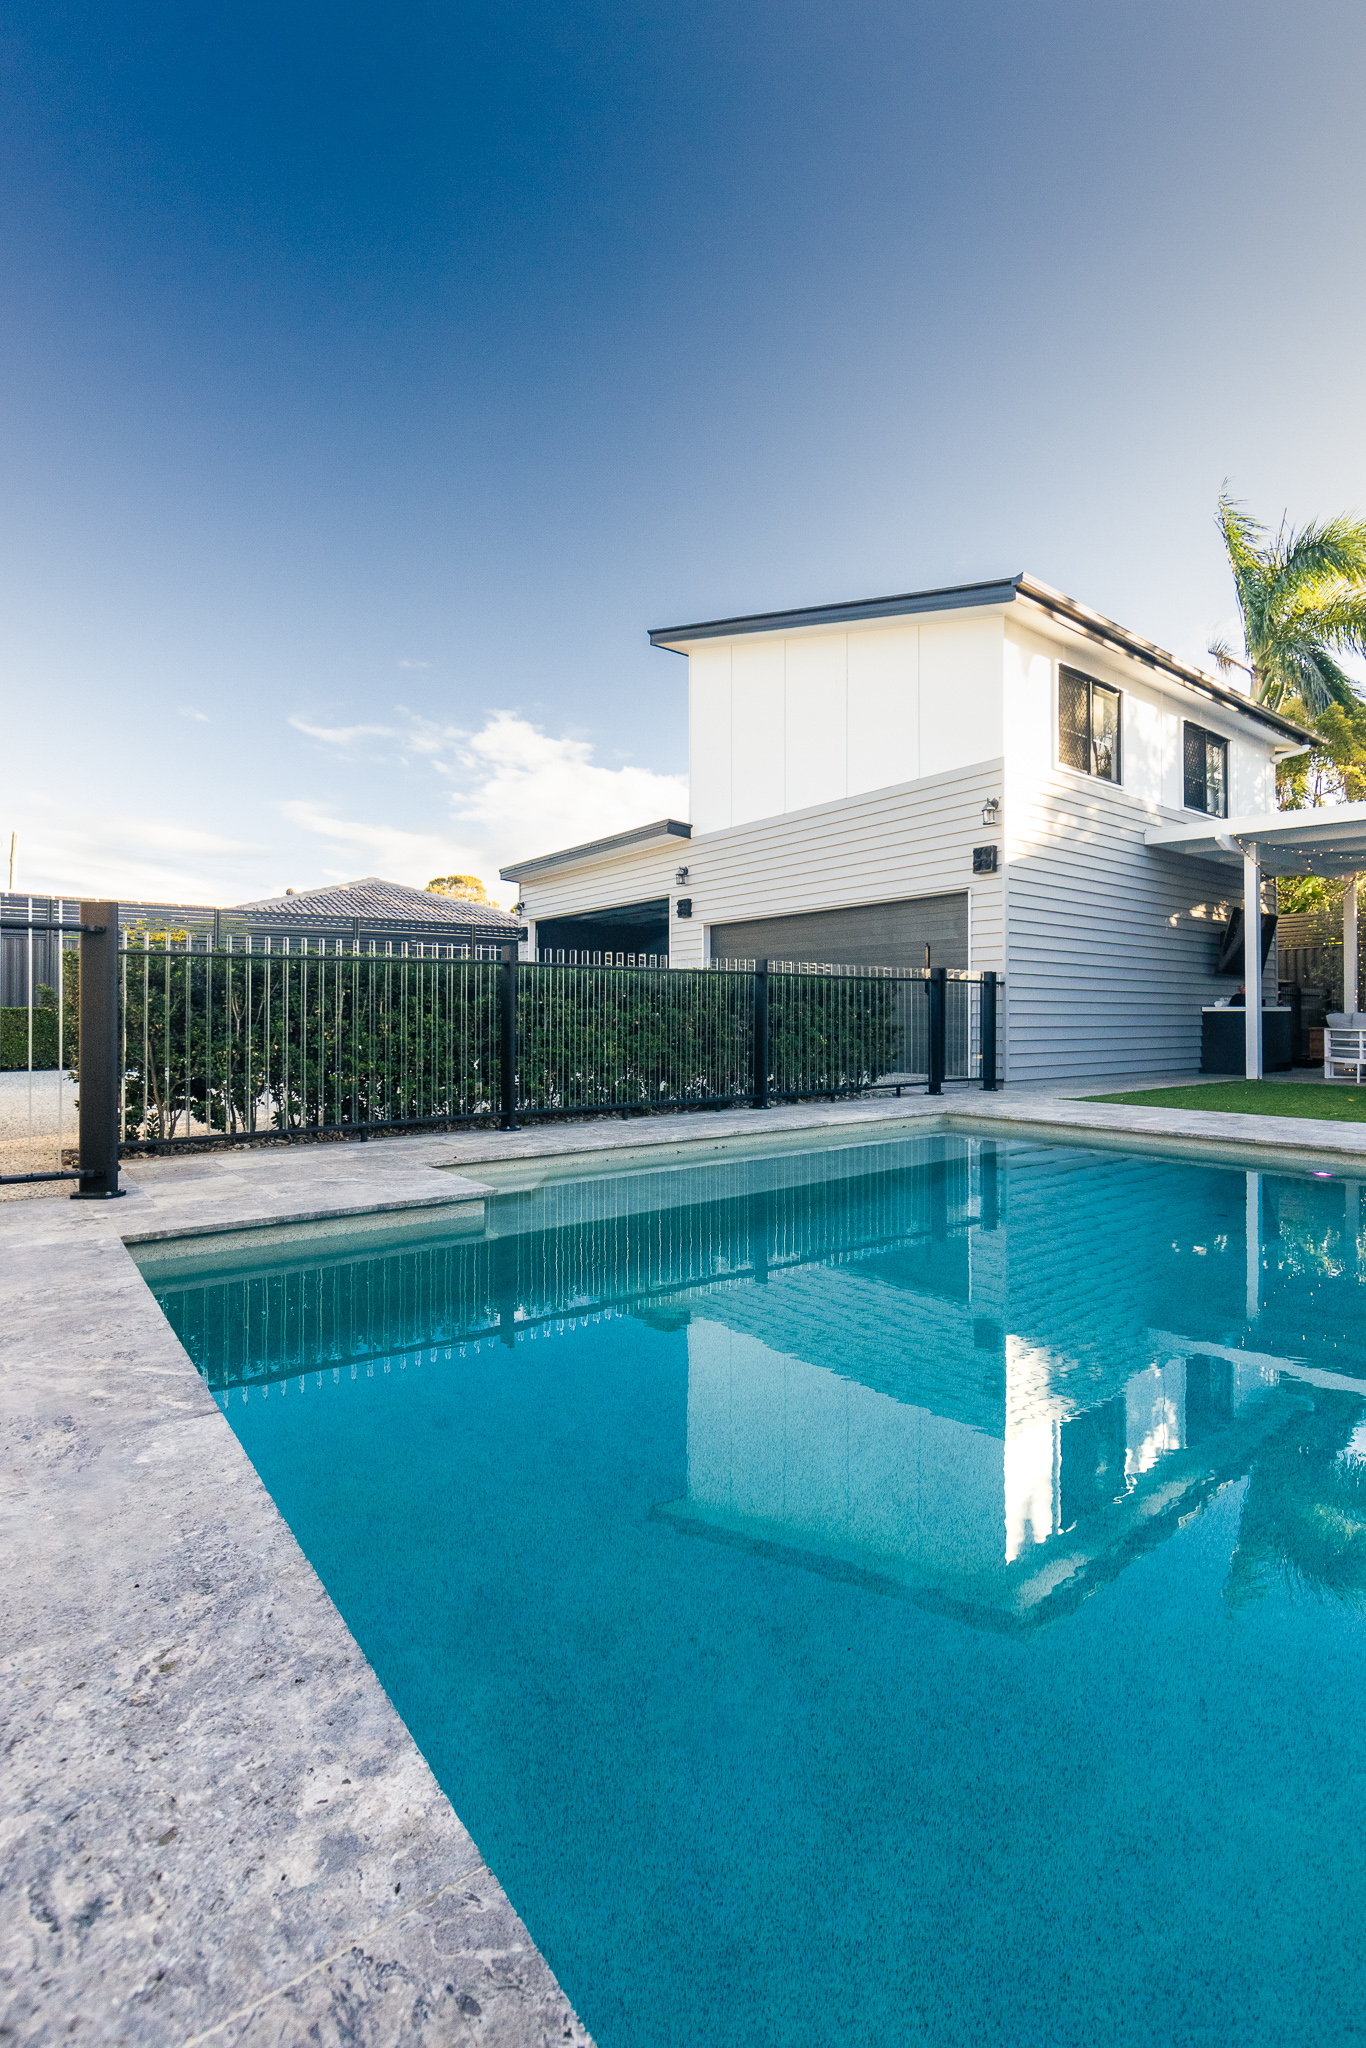
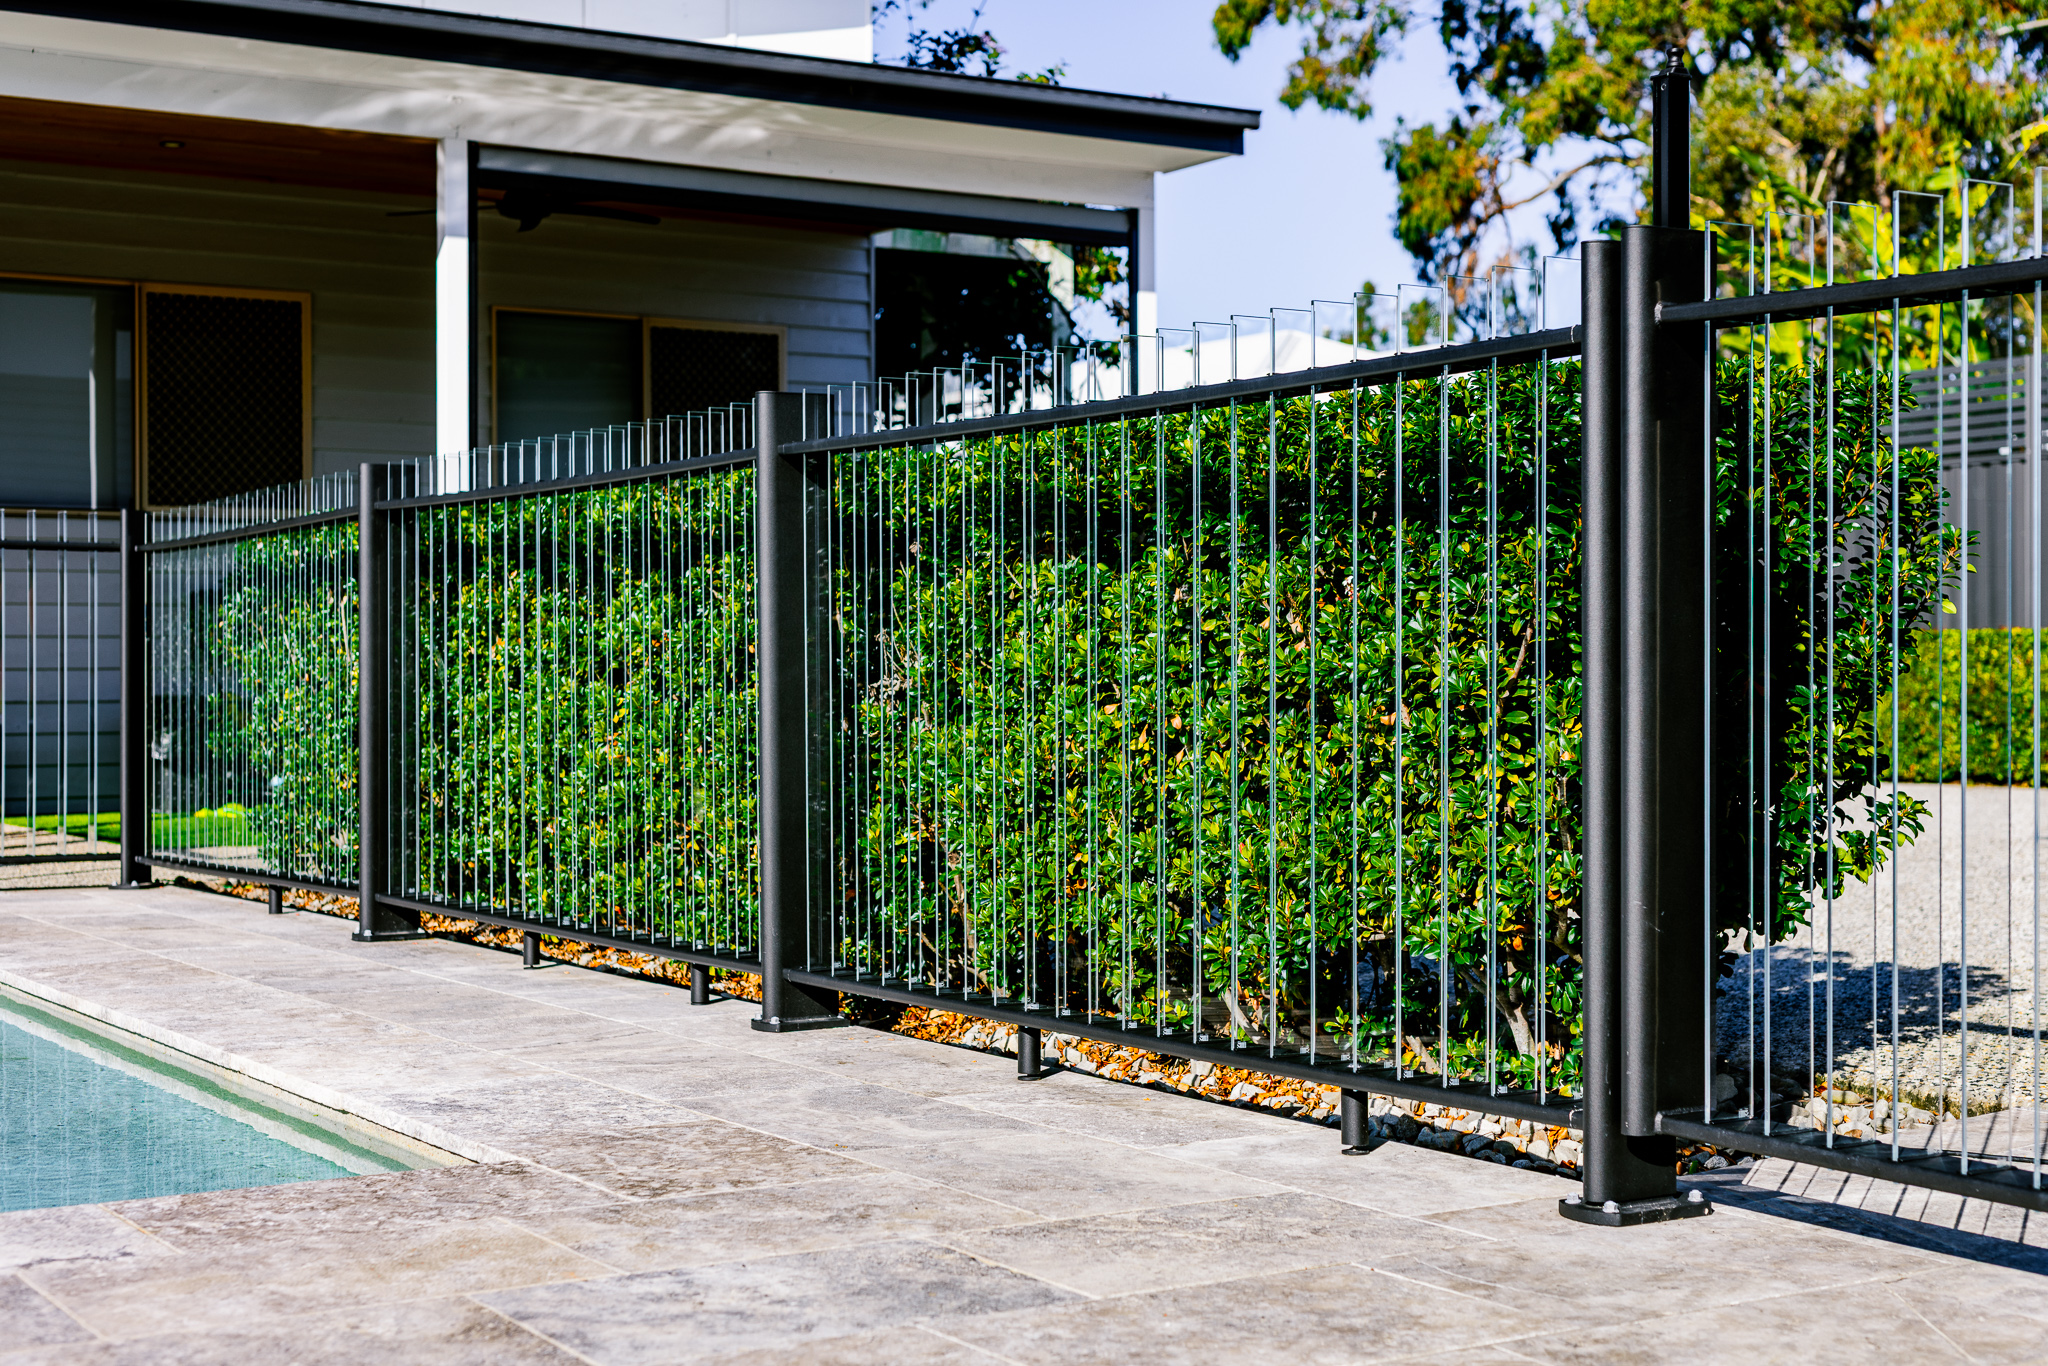
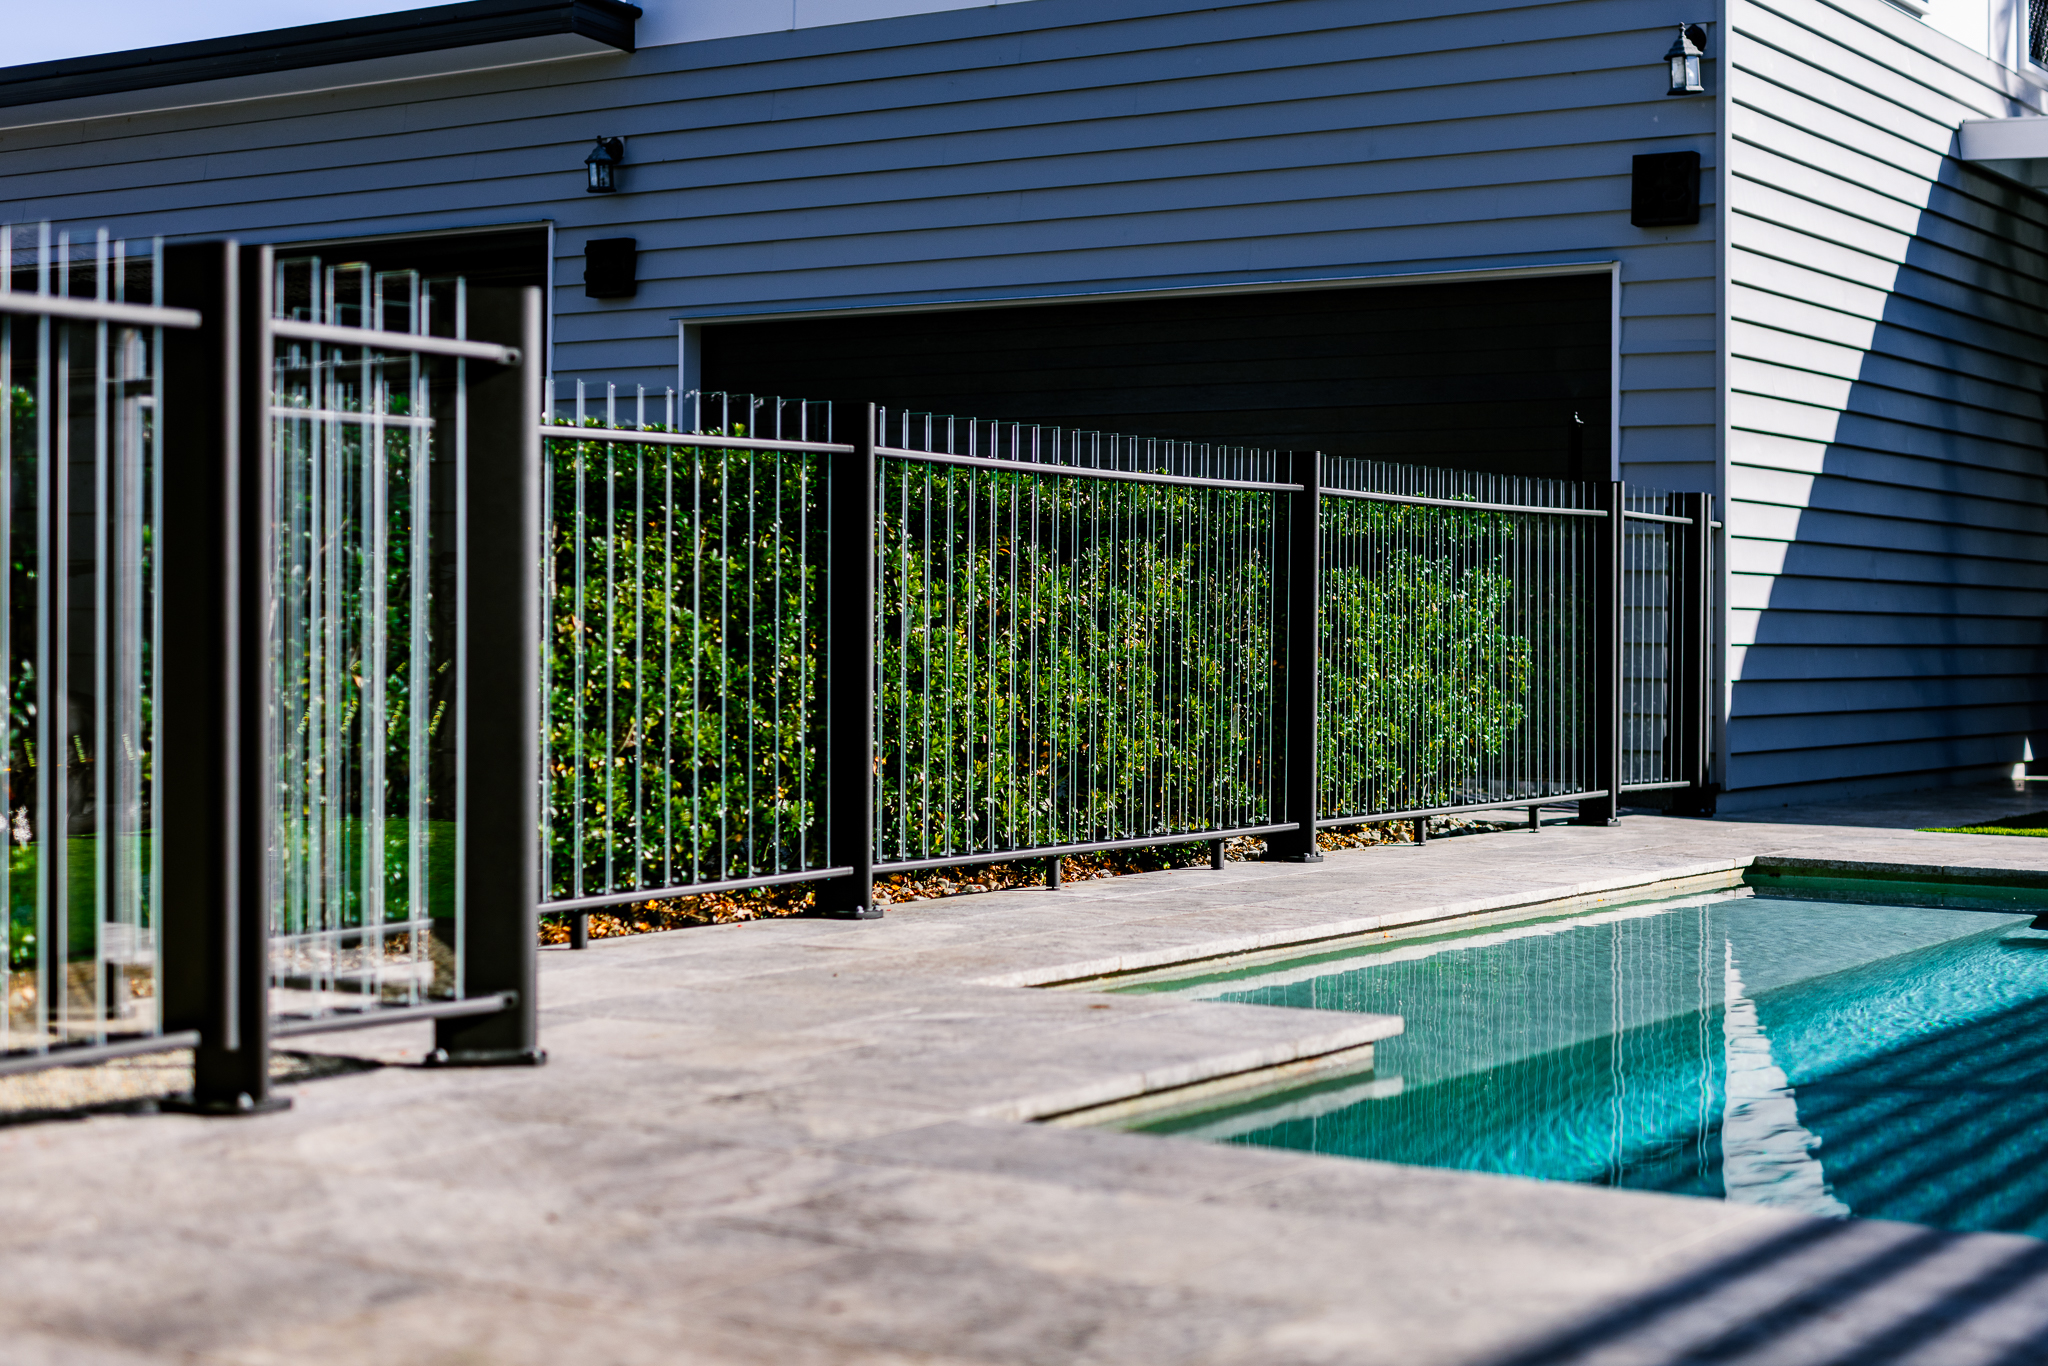
Installation Manual
01
Mark Post Positions
Using a chalk line and tape measure, mark the centre of each post position. Maximum spacing is 3000mm (3m) centre-to-centre.
02
Install Base Plates
Drill and anchor the base plates using the supplied stainless steel fixings. Use a spirit level to ensure each plate is perfectly plumb.
03
Set Posts & Clip In Glass
Slide posts into the base plates and tighten. Insert the glass panels into the post channels and secure with the stainless steel clips.
04
Fit Gates & Hardware
Install gate posts, hinges, and latches. Test the self-closing mechanism before finalising.
05
Final Inspection
Check all fixings are tight, glass panels are secure, and the fence meets the required height. Download your certification documents.

Installation Gallery — Ormiston Project

Installation step 1
Installation step 2
Installation step 3
Installation step 4
Installation step 5
Installation step 6
Installation step 7
Installation step 8
Installation step 9
Installation step 10
Flo Glass pool fence hardware close-up
AS1926.1 & 1170.1
Certified
Load tested beyond code
3

Engineered for
Safety & Compliance

Flo Glass is independently tested and certified to Australian Standards. Once your fence is installed, simply download the Form 15 and hand it to a licensed pool safety inspector or building certifier — they'll do the rest.

AS1170.1 Tested
Certified load performance beyond code requirements — handles cyclonic winds and human impact forces up to 5.0kPa.
8mm Tempered Glass
Meets AS1288, the non-splintering safety standard. Tempered for maximum strength and safety.
AS1926.1 Pool Barrier
All pool fencing products comply with the Australian Standard for swimming pool safety barriers.
Form 15 Provided
Signed Form 15 compliance certificate included — hand it to your pool safety inspector or building certifier to complete certification.
View Documentation

Certification Documents

Once your fence is installed, hand the Form 15 to a licensed pool safety inspector (pool fencing) or building certifier (balustrade). They will inspect the installation and issue your Pool Safety Certificate or Form 17 Final Inspection Certificate.
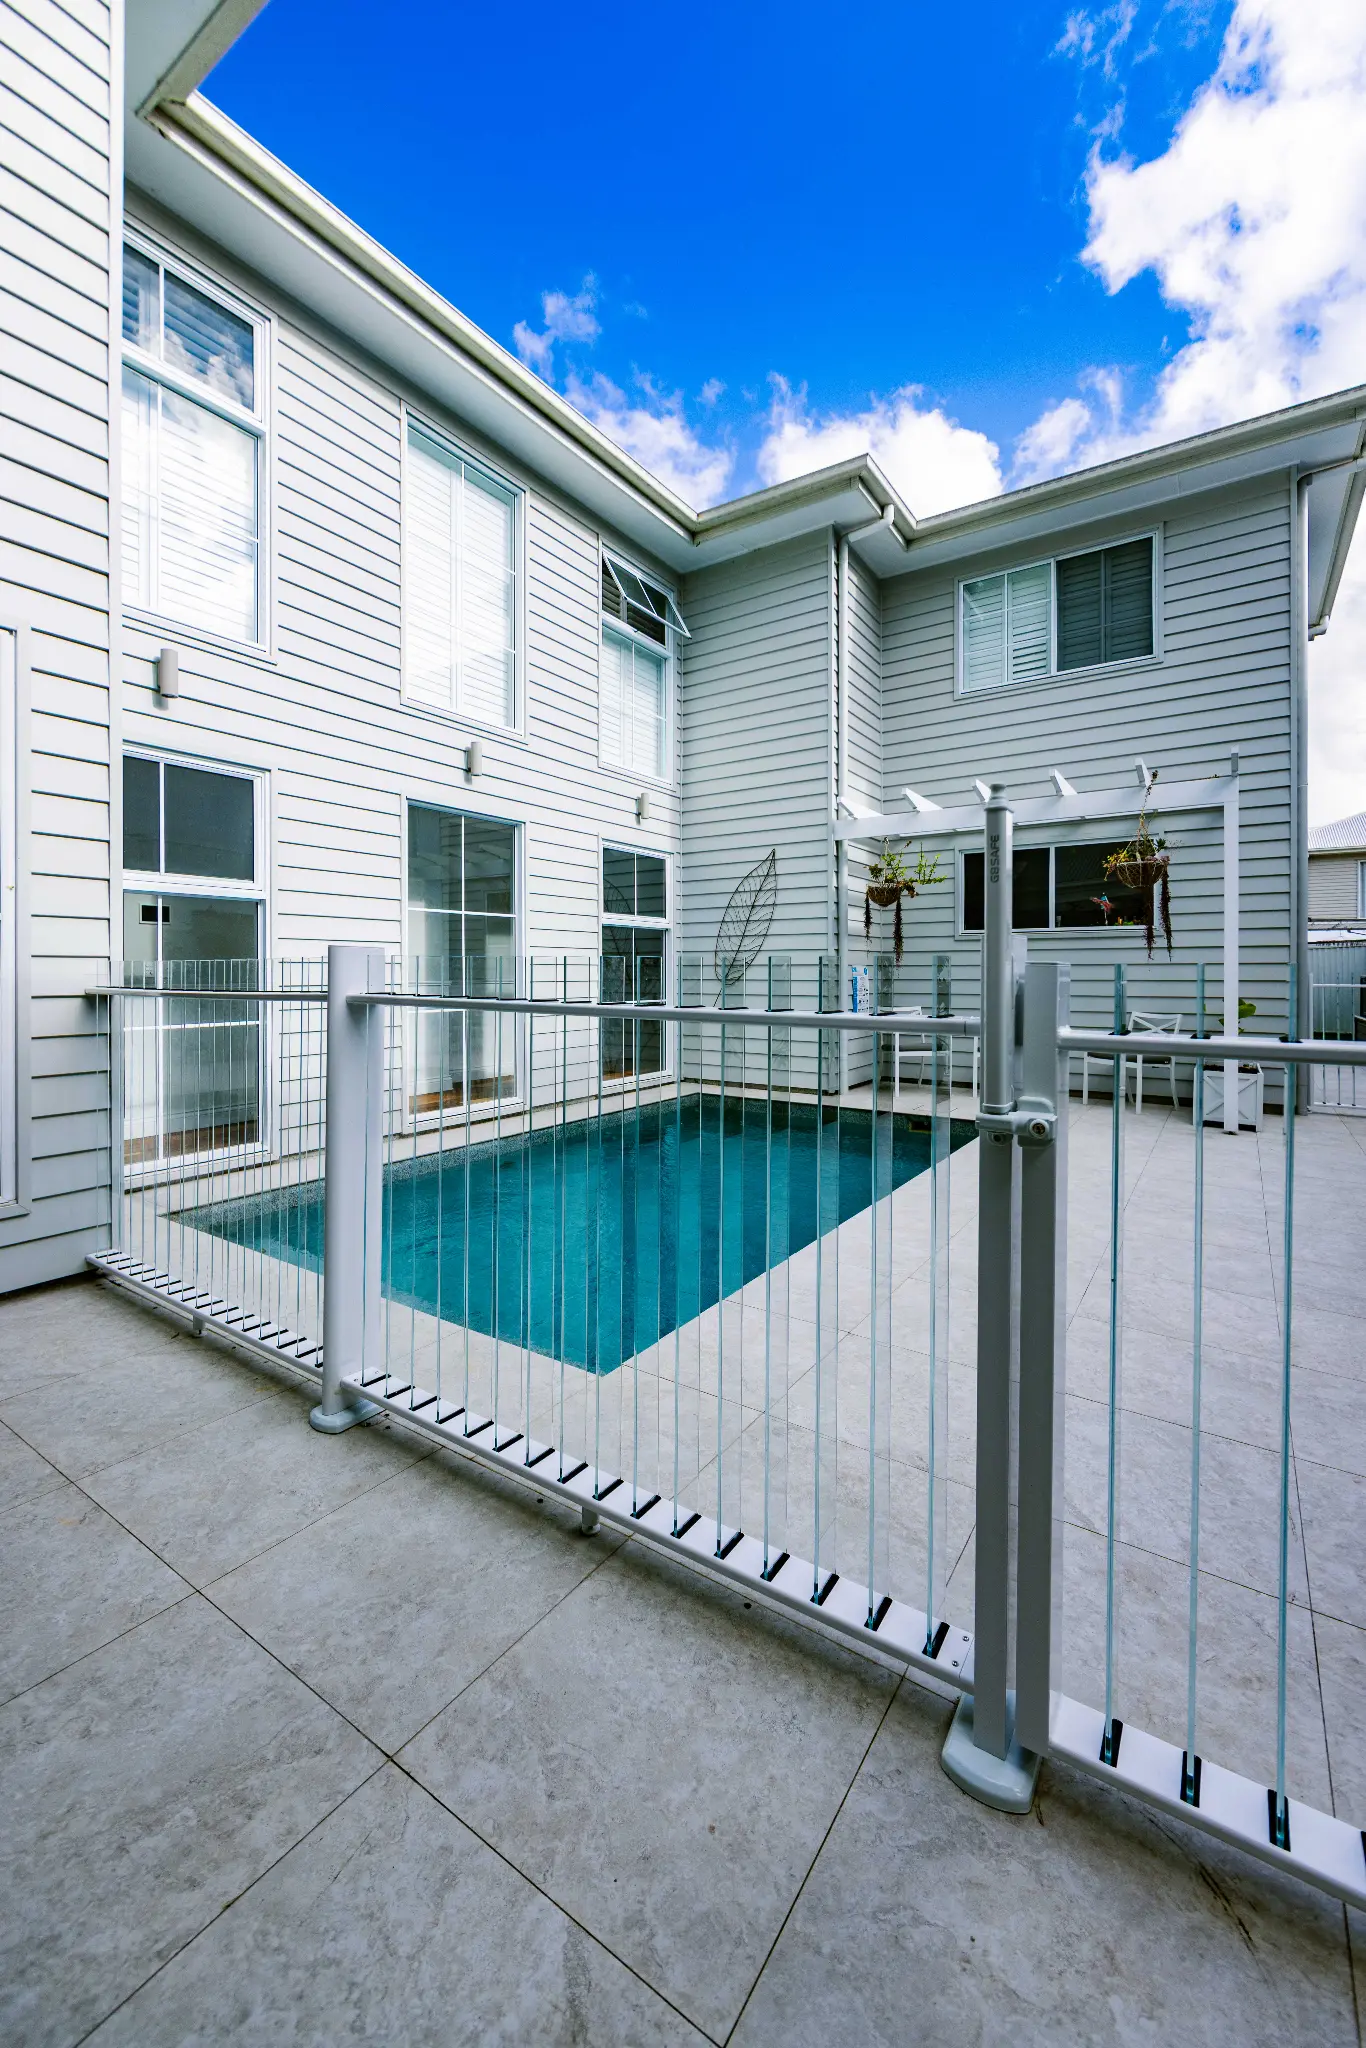
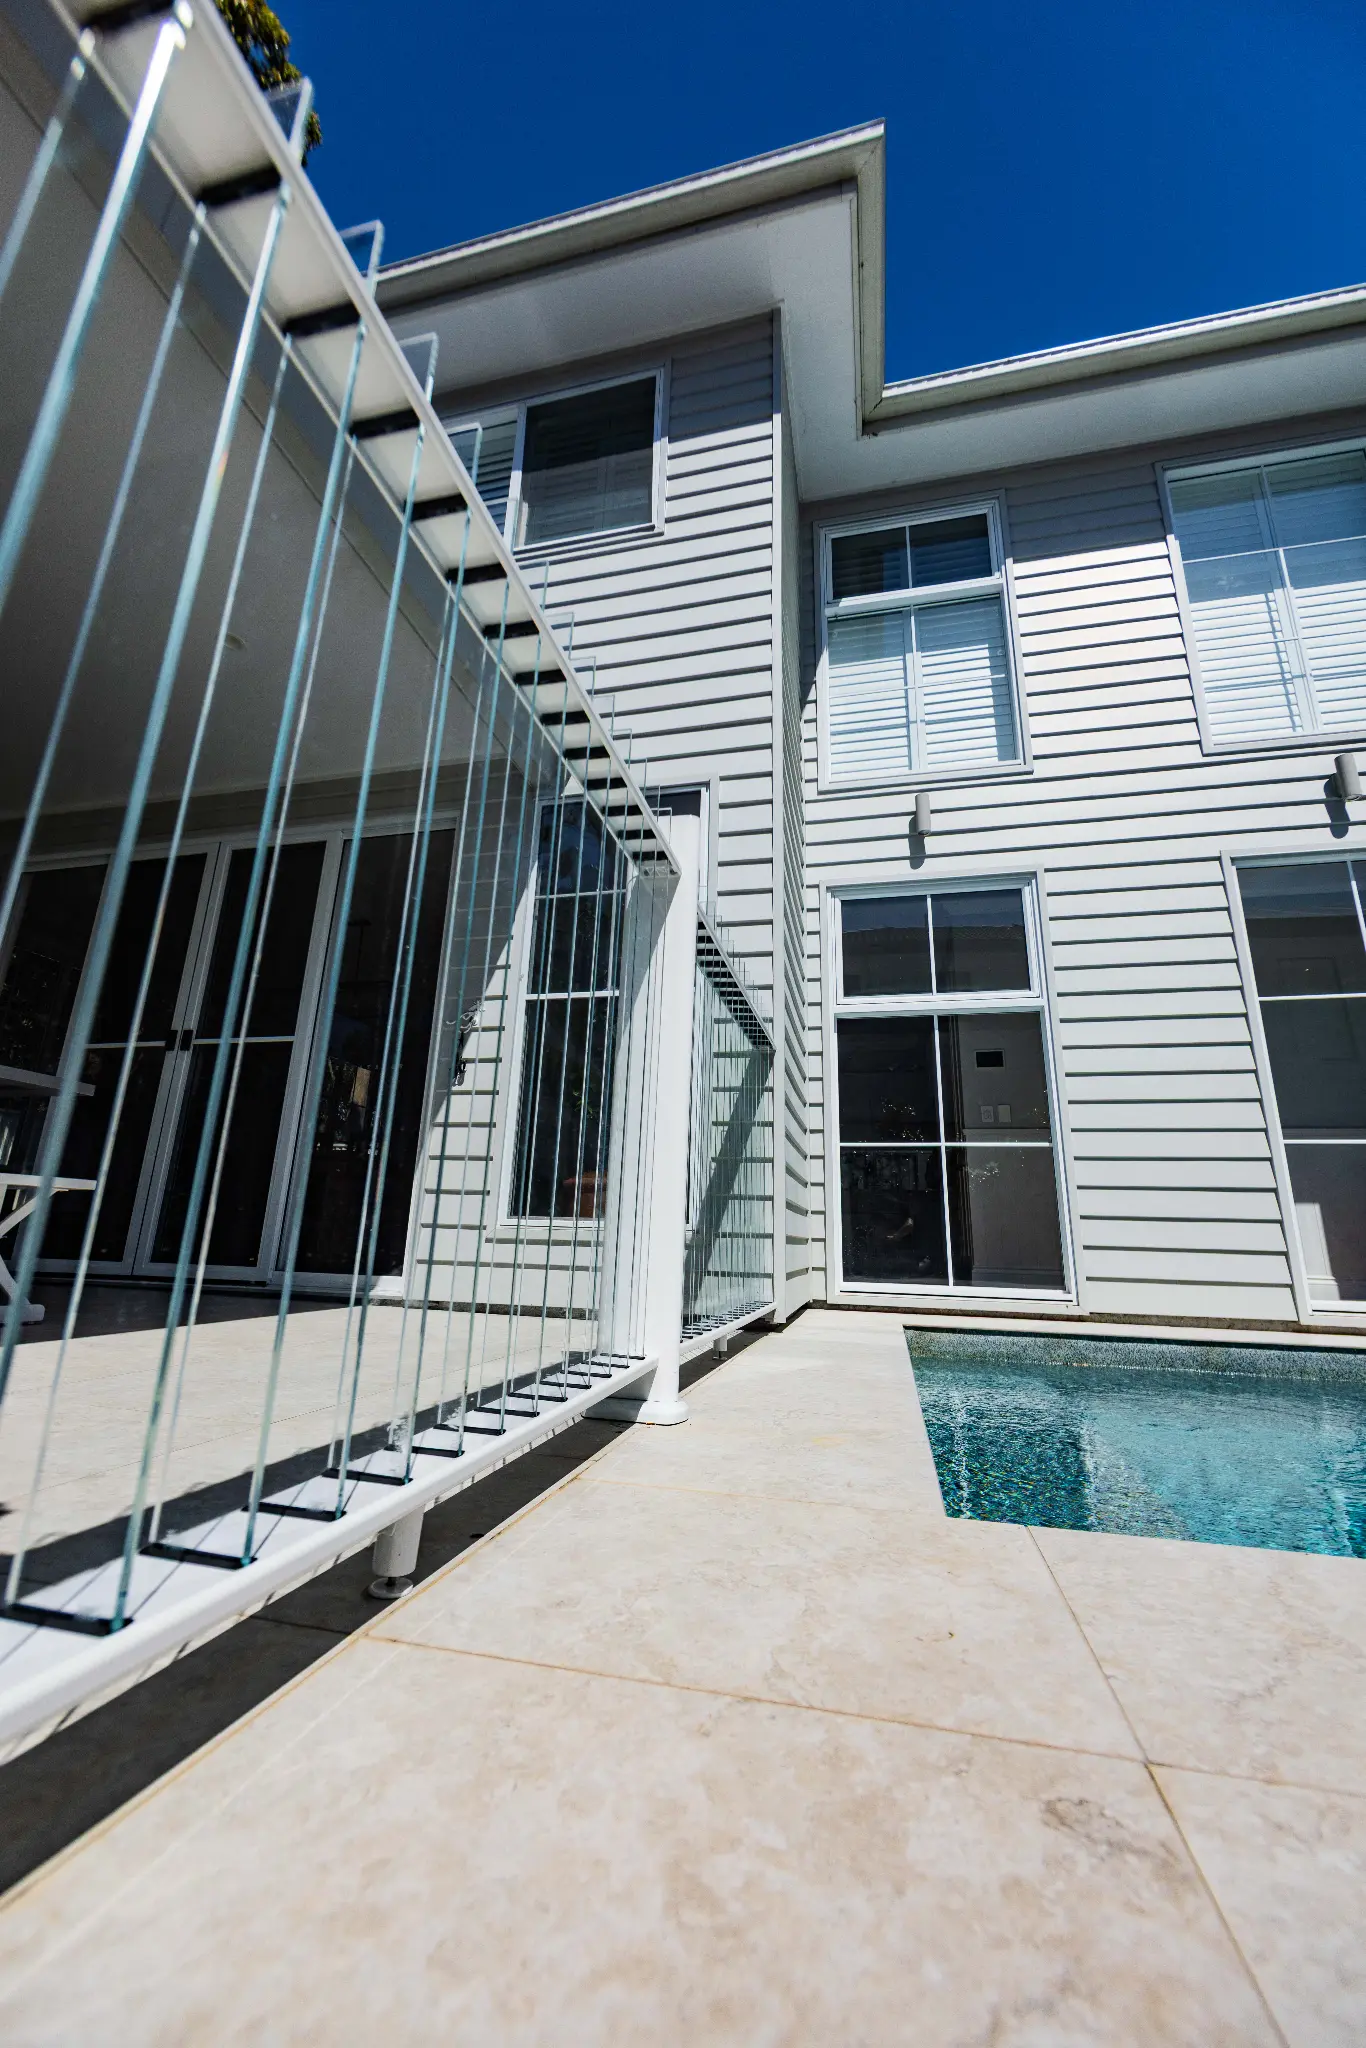
How certification works in Queensland
1
Install your fence
Complete the Flo Glass installation following the installation manual.
2
Download Form 15
Download the signed Form 15 from this page — it certifies the system design meets Australian Standards.
3
Book an inspector
Engage a licensed pool safety inspector (QBCC-licensed) or building certifier to inspect the completed installation.
4
Receive your certificate
If compliant, the inspector issues a Pool Safety Certificate (valid 2 years for non-shared pools) or Form 17.

See What's Possible

View Gallery
Project inspiration 1
Project inspiration 2
Project inspiration 3
Project inspiration 4
Project inspiration 5
Project inspiration 6

Frequently
Asked Questions

Can't find what you're looking for? Our team is available Monday–Friday, 8am–5pm AEST.

Flo Glass installation complete

Build Your Fence.
Get an Instant Price.